Monday, March 31, 2014

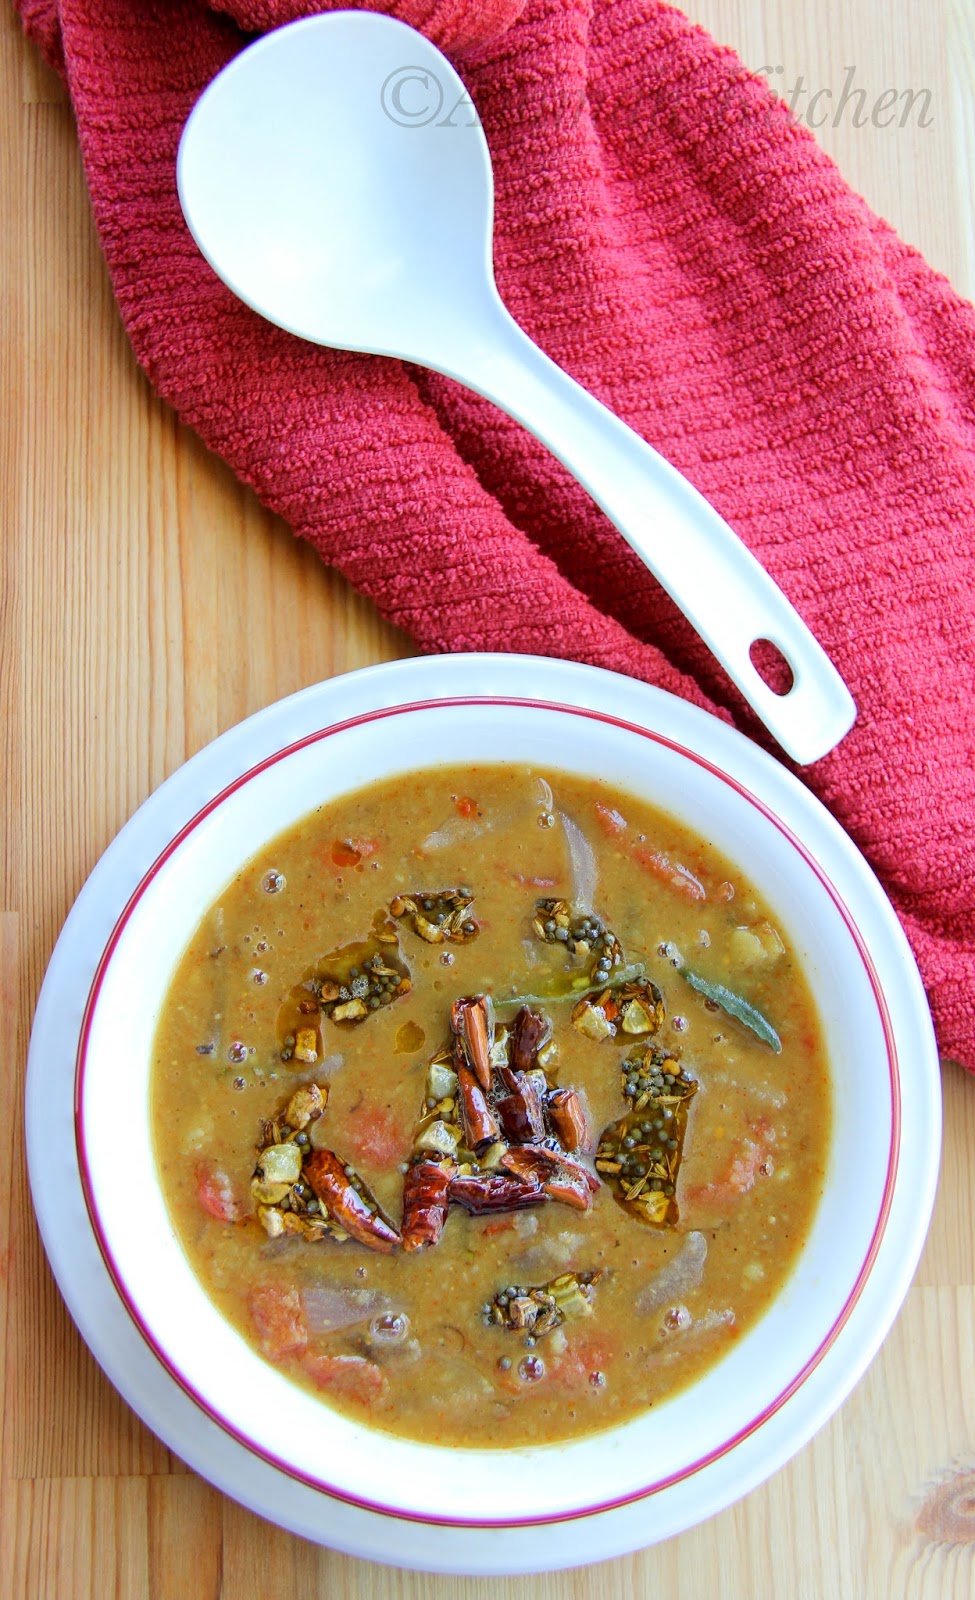
Pappu Charu | Toor Dal Rasam


Pappu Charu

This month we are starting a mega marathon & it will go on for this whole month. We started off with "Andhra Pradesh", which is also my home state & was juggling on which recipe I should choose. 
Pappu Charu or Pappu saru is a well know andhra house hold dish. It is slightly different from the rasam we make. This dish is filled with dal, veggies & spices, which bring out a unique flavor to the dish. This dish basically doesn't need any powders to flavor it but my mom add's a little of rasam powder & it sure does it's magic in this dish.
Pappu Charu
Cook Time-45mins | Serves-3people
Ingredients
1/4Cup toor dal
1Cup water
1Small onion sliced 
2Tomatoes chopped
2Green chili's sliced
1Drumstick cut equally
1/4Tsp turmeric
1Tsp chili powder
1Tbs tamarind pulp
2&1/2Cups water
1/2Tsp sugar
1Tsp rasam powder
1Tbs oil
Salt to taste
Few curry leaves
Seasoning
1Tbs oil
1Tsp mustard
1Tsp Jeera
2Red chili's broken equally
1/4 Tsp Hing / Asafetida
2Garlic cloves chopped
Directions 
- Wash toor dal with lots of water. Take toor dal & drumsticks in a pressure cooker and add 1cup water. Cook it for 2 whistles & switch off heat.
- Heat a deep bottomed vessel with oil. To that add cooked dal, onions, tomatoes, green chili's, chili powder, sugar, salt, turmeric, rasam powder , curry leaves & tamarind pulp to vessel along with 2&1/2cups water. Adjust taste if needed. Mix it well & bring it to boil. 
- Cook on low heat for 15mins or until onions & tomatoes are soft. Switch off heat & rasam is ready.
- Heat a small pan with 1tbs oil. Once it is hot add jeera, mustard, garlic & red chili's. Once the mustards start jumping add hing & switch off heat. 
- Mix the seasoning with rasam.
- Serve with rice, dollop ghee & few papads. 
Note: 
- Remove green chili's from the recipe to reduce the spice level. 
- While seasoning you can add both garlic & hing or just any one of those.


Pappu Charu

Follow me on "Facebook", "Google+", "Pinterest" for daily updates. Leave me a comment on any queries regarding this recipe & I will be able to answer it for you as soon as possible.


Sunday, March 30, 2014

Ugadi / Yugadi / Gudi Padwa Recipes

Ugadi/Yugadi or Gudi Padwa represents a start of new year & is celebrated in Andhra, Karnataka & Maharashtra. On this day we make a chutney with 6 different taste which are called "Shadruchulu" in telugu & is offered to god.


Image Courtesy : Google Images

Other than this chutney they make purnam poli or obbatu, which consists of channa dal & jaggrey as filling. Along with it they also make pulihora, it is believed auspicious to offer yellow rice to god on any festival. I'm sharing a couple of recipe that can be offered to god on this auspicious day. 


Few sweets dishes to celebrate ugadi & many more coming.

Rice Dishes 

Follow me on "Facebook", "Google+", "Pinterest" for daily updates. Leave me a comment on any queries regarding this recipe & I will be able to answer it for you as soon as possible.

Ugadi Pachadi | Ugadi Chutney

*Happy Ugadi Friends*

Ugadi pachadi

Ugadi/Yugadi or Gudi Padwa represents a start of new year & is celebrated in Andhra, Karnataka & Maharashtra. On this day we make a chutney with 6 different taste which are called "Shadruchulu" in telugu & is offered to god.

On this day they make purnam poli or obbatu is made of channa dal & jaggrey as filling. Along with it they also make pulihora which is believed auspicious to offer yellow rice to god. 
Here I'm sharing one of my grand mom's recipe. She finishes the dish with a seasoning & definitely that makes the dish much tastier.

Ugadi Pachadi

Ingredients

1/2Cup tamarind juice or 1Tbs Tamarind pulp mixed in 1/2cup water 
1/2Banana mashed
1/4Mango sliced to small pieces 
3Green chili's / 1/2Tsp chili powder
1Tsp neem flowers
2Tsp grated jaggery 
Salt to taste
Seasoning
1Tsp ghee
1/4Tsp mustard
1/4Tsp jeera


Ugadi pachadi

Directions
- In a wide vessel add all the above ingredients & mix them well. Adjust the taste if needed. 
- Heat a pan with ghee. To that add mustard & jeera. Once mustard starts jumping add it to the chutney. 


Ugadi pachadi

Follow me on "Facebook", "Google+", "Pinterest" for daily updates. Leave me a comment on any queries regarding this recipe & I will be able to answer it for you as soon as possible.


Thursday, March 27, 2014

Soya Chunk Curry | Meal Maker Curry | Soya Bean Subzi

Soya Chunk Curry

Soya Curry is one of the yummiest & easiest curry you can make on a busy day. Soya chunks, which are also called as meal maker, are made of soya flour. This chunks work as substitute to meat & also also better nutrition values to one's diet.
Other recipes you would like:

Meal Maker Curry
Prep Time-20mins | Cook Time-30mins| Yields-4Servings
Ingredients
1/2Cup meal maker or soy chunks
3Cups water
1Medium onion chopped
2 Tomatoes chopped
2Tsp ginger garlic paste
1Tsp garam masala powder
1Tsp Red chili powder
1/4 tsp turmeric
2Tsp besan powder
1/2 cup water
1Tbs oil
1/2Tsp mustard
1/2Tsp jeera
Salt to taste
3Tbs coconut milk
Coriander leaves for garnish
Directions
- In a deep bottomed vessel take 3cups of water & bring it to boil with pinch of salt.
- Add meal maker or soy chunks to boiled water & close it with a lid. Switch off heat. After 10mins filter water out. Chock them to bite size pieces if needed.
- Take a pan with oil. Heat it for few seconds & when oil is hot enough add mustard & cumin seeds to it. 
- Add chopped onions & cook them translucent. To that add ginger garlic paste. 
- Fry it for few seconds &  add tomatoes, garam masala, garam masala powder, chili powder, turmeric & salt to pan. Close it with lid. 
- Cook tomatoes with closed lid. Mean while mix coconut milk & besan flour in a bowl.
- Once they are done add cooked soya chunks to pan. along with coconut milk mix. Adjust salt & chili powder if needed.
- Cook them for 2mins. Switch off heat & garnish with coriander leaves. 


Soya Bean Sabzi

Follow me on "Facebook", "Google+", "Pinterest" for daily updates. Leave me a comment on any queries regarding this recipe & I will be able to answer it for you as soon as possible.

Wednesday, March 26, 2014

BWW#122

Onions 

Sending this to Susan's BWW event which was passed to Cindystar & being hosted @ Lynne of Cafe Lynnylu

Tuesday, March 25, 2014

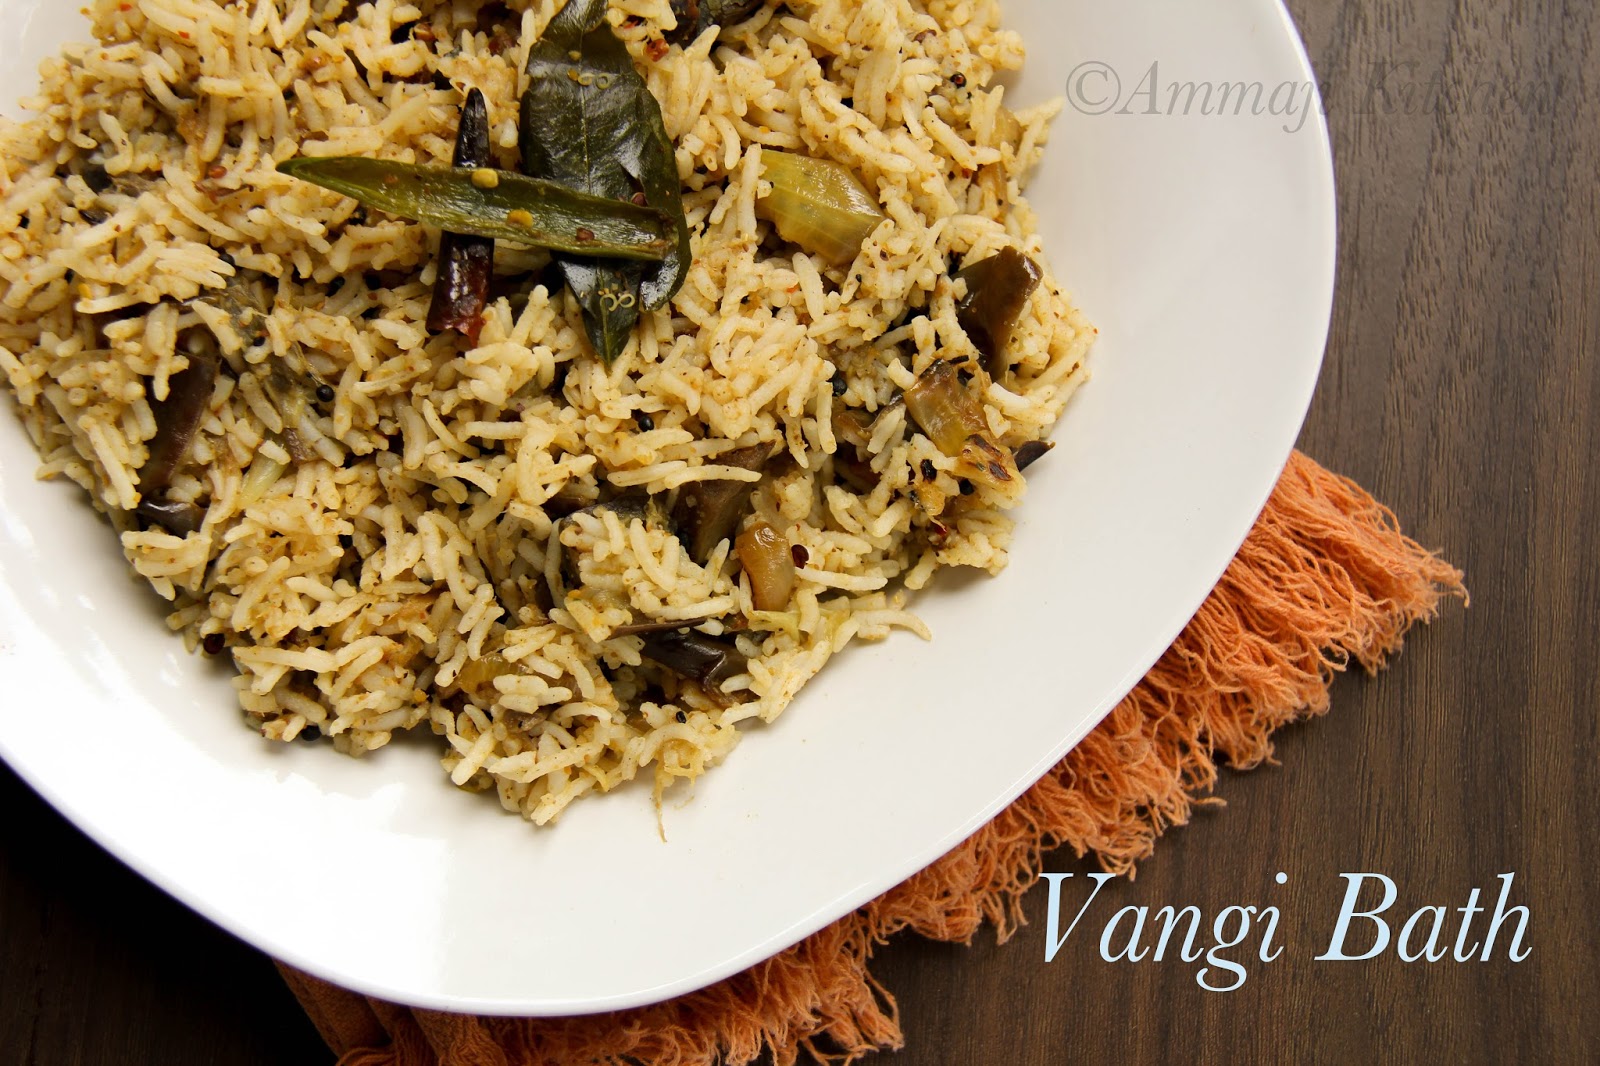
Vangi Bath | Brinjal Rice


Vangi bath

Vangi bath is a authentic Karnataka dish & I enjoyed it @ sagar's for many years while I stayed in bangalore. This is also one of the dishes that is more often made in my house & it's our favorite.


Vangi bath

Prep Time-15mins | Cooking Time-30mins | Yields-4Servings 
Ingredients:
4Cups cooked basmati rice or 2Cups uncooked basmati rice
7Small brinjal or 2Chinese brinjal sliced
1Medium onion chopped
2Tbs peanuts
1Tbs mustard seeds
2Red chili's cut equally 
2Green chili's sliced
4Tbs vangi bath powder
2Tbs oil
Salt for taste
2Tsp lemon juice (Adjust as needed)
1/2Tsp of hing
Few curry leaves 
Directions
- Cook rice with 3&1/2 cups water and cool it for a while.
- Heat a pan with oil add mustard seeds, hing, curry leaves, chili's & peanuts. Once the mustard starts jumping add onion to pan.
- Fry till onions are translucent.
- Add the chopped brinjal to it and close the pan with
a lid. Allow them till they are done.
- Once veggies are cooked add vangi bath powder, salt to pan. Switch off heat after 1min & add lemon juice to pan. Mix them well.
- Mix rice & brinjal mixture with rice. Adjust salt & lemon juice if needed. Allow the rice to sit for 30mins before serving as all the flavors with set perfectly.
- Serve with papad or potato chips.


Vangi bath

Note:
- You add tamarind pul instead of lemon in case if you don't like. 
- This is a spicy dish, if you want it less spicy just avoid adding gree chili's in the dish. 
- Add cashews along with peanuts if you like.


Vangi bath

Follow me on "Facebook", "Google+", "Pinterest" for daily updates. Leave me a comment on any queries regarding this recipe & I will be able to answer it for you as soon as possible.


Monday, March 24, 2014

Vangi Bath Powder

Vangi bath Powder
Prep Time-10mins | Cooking Time-10mins
Ingredients 
8Red chili's 
3Tsp coriander seeds
1Tsp cumin
1Tbs urad dal
1Tbs channa dal
2Tbs coconut flakes 
2Marati moggu
2Inch cinnamon stick
3Cloves 
1Tbs seasame seeds
1/2Tsp turmeric powder
1Tsp oil
Few curry leaves
Pinch of hing
Directions
- Heat pan with oil. To that add all the above ingredients other than coconut & turmeric. 
- Roast them to a light brown color. Switch off heat. At this stage you smells the roasted aroma of spices. 
- Add coconut & turmeric to pan.
- Once the ingredients are cool grind them to a smooth powder. 
- Store it in a air tight container & refrigerate it. 
- Stays fresh for couple weeks. 

Vangi bath Powder

Follow me on "Facebook", "Google+", "Pinterest" for daily updates. Leave me a comment on any queries regarding this recipe & I will be able to answer it for you as soon as possible.

Thursday, March 20, 2014

Fried Pineapple Quinoa


Fried Pineapple quinoa

Fried pineapple quinoa is a variation of pineapple fried rice. I came across this similar dish with pineapple on a blogger friends site & just fell for it. This is a dish of bursting flavors & will leave you amazed with every bite. 


Fried Pineapple quinoa
Prep Time-5mins | Cook Time-10mins | Yields-2 Servings
Ingredients
1Cup cooked Quinoa
1/2 onion finely chopped
2Carrots sliced
1Small bell pepper sliced
1Cup fresh pineapple pieces
1Tsp ginger garlic
1Green chili sliced
1Tsp garam masala or curry powder 
1/2Tsp red chili powder (Adjust acc.)
1/4Tsp soy sauce
1Tbs oil
Salt for Taste
Pinch of sugar (Optional)
Garnish
Few spring onions sliced
2Tsp toasted coconut flakes 
Fried Pineapple quinoa
Directions
- Heat a wide pan with oil. Add ginger garlic paste to pan & fry it for few seconds. To that add onion & green chilli's. Stir fry them for 1min. 
- Now add pineapples, bell pepper & carrots to pan & stir fry. Add chili powder, salt & garam masala powder to pan & close it with a lid for 2mins.
- Add cooked quinoa to pan along with soy sause & stir fry it for few seconds.Adjust salt & chili powder if needed. 
- Switch off heat & garnish with spring onions & toasted coconut flakes. 
Note 
- Instead of quinoa you can use rice. 
- You can replace garam masala powder with curry powder of your choice.

Fried Pineapple quinoa

Follow me on "Facebook", "Google+", "Pinterest" for daily updates. Leave me a comment on any queries regarding this recipe & I will be able to answer it for you as soon as possible.


Wednesday, March 19, 2014

Avocado Garlic Naan

For this weeks blogging marathon I'm showcasing "Naan" recipes. Today I'm sharing recipe for "Avocado Garlic Naan with no yeast".Check this Blogging Marathon page for the other Blogging Marathoners doing BM#38.

Avocado Garlic Naan

Naan is a flat bread that has many varieties & is adapted, modified based on the local cuisine. You can tweak the dish according to your taste buds wish. The varieties include few of these plain naan, stuffed naan, butter naann.. etc. Here is a avocado garlic naan I experimented mixing two different flours & loved it. It is not a stuffed naan but I modified the basic naan by adding the avocado pulp, which gave a creamy taste to the dish. 

Avocado Garlic Naan
Prep Time-2hrs | Cook Time -15mins | yields-10naans
Ingredients 
1Cup all purpose flour

1Cup atta flour
1/2Tsp baking powder
1/4Tsp baking soda
3Tsp yogurt

1/4Cup milk
1Tsp sugar 
4Tsp oil
Salt for taste
1Full avocado deseeded & scooped
2Tbs butter @ room temperature

3Garlic minced
Directions
Making Dough:
- In a bowl mix all purpose flour, atta flour, 
yogurt, baking powder, soda, avocado, salt & sugar.
- Knead it to form a dough. Add oil & knead it well. Adjust salt if needed. 
- Keep this dough closed with a wet cloth. Allow it to sit for at least 1hr.

- Mix minced with butter & keep aside.
Making Naan:


Avocado Garlic Naan
- Divide dough in to equal balls. Dust them with flour. 
Avocado Garlic Naan
- Using a rolling pin roll naan as shown above.


Avocado Garlic Naan
- Heat pan with butter. Place a naan on pan. Brush it with water & close it with a lid. Cook on medium heat.


Avocado Garlic Naan
- Leaves for more than 20sec without disturbing. You can see bubble forming as above. Now brush some garlic butter & flip naan. Brush it with garlic butter on the cooked side too. 
- Cook on the other side till you see brown spots. Transfer to a plate & serve warm. 
- Repeat the same with rest of the naan's. 


Avocado Garlic Naan

Follow me on "Facebook", "Google+", "Pinterest" for daily updates. Leave me a comment on any queries regarding this recipe & I will be able to answer it for you as soon as possible.