Saturday, May 31, 2014

Pav Bhaji | How to Make Pav Bhaji


Pav Bhaji is a much known Indian fast food originated from Maharashtra. It used to be a lunch for mill workers, which was invented by a street vendor to reduce their lunch time.This mill worker's food became widely famous & is being enjoyed by all.
Pav means bread & they look mostly rectangular & some times round in shape. This bread is soft & has a kind of sweet taste to it. You can buy this bread from a grocery store or from a local bakery shop. You can also bake your own bread, as I have done for this recipe. 
Bhaji means vegetable curry. For this dish I used mix of chick peas & veggies.I have seen many street vendors adding chick peas to their bhaji & they use the same bhaji for samosa chat & in few other chat's. 
Pav Bhaji is enjoyed along with sliced onion & a little spread of lemon juice. 


Prep Time- 10mins | Cook Time-30mins | Serves-
2people
Ingredients
1/4Cup kabuli channa {chick Peas}
1&1/2Cup potatoes chopped {2medium potatoes}
1Carrot chopped
1/2Cup green peas
1Cup chopped onion 
2Tomatoes chopped
2Garlic cloves minced
1/4Cup water
1/4Tsp turmeric 
1Tsp chili powder {adjust as needed}
2Tsp pav bhaji masala / garam masala
2Tbs coriander chopped
3Tbs oil
For Pav & Serving 
3Tbs butter / ghee
7 Pav
Finely chopped onions 
1Lemon slice
Directions
- Pressure cook potatoes, carrot, chick pea & green peas for 2whistles. Allow it to cool.
- Mean while heat pan with oil. Add onions to pan a along with garlic.
- Fry till onions are soft. 
- Add tomatoes to pan & cook them till oil separates.
- Mash the pressure cooked ingredients & add them to pan along with water.
- Cook on low heat for 3mins. 
- To that add salt, chili powder & masala powder.  Adjust salt & chili powder if needed.
- Cook them on low heat with a closed lid for 5mins.
- Switch off heat & garnish with coriander leaves.


For Serving
- Heat a pan with little butter. 
- Cut pav in to half horizontally. 
- Place them on the butter & cook them till they are crisp & browned a little.
- Repeat the same with rest of the pav's. 
- Serve with bhaji, onions & lemon slice.
Note
- You can avoid chick pea & replace it with 1Cup cauliflower.
- If you don't have pav bhaji masala replace it with garam masala.
- You can butter instead of oil for frying onions.


Follow me on "Facebook", "Google+", "Pinterest" for daily updates. Leave me a comment on any queries regarding this recipe & I will be able to answer it for you as soon as possible.

Wednesday, May 28, 2014

Pav | How to make Pav


Pav is Indian yeasted bread. The most famous snacks include pav bhaji, Vada pav, misal pav, masala pav etc..
Origin - This bread “Pao” was introduced by Portuguese when they ruled Goa {India} in 15th century. Later in migration it this bread was brought to Mumbai & it became famous over there. {Sources: Holiday Goa}
Recipe - The recipe is simple & doesn't involves eggs. I used milk in this recipe instead of water & kneaded it for 10mins before & after rising. Making small dough balls will allow the bread to be soft & smooth after it was baked.

Prep Time-3hrs | Cook Time-30mins | Serves-3people | Yields-7pav's
Ingredients
1&1/2Cups all purpose flour {unbleached}
1/2Cup + 2Tbs milk { add as needed}
2Tsp instant yeast
1/4Tsp salt
1Tbs +2Tsp sugar
1Tbs butter melted
1Tbs flour for dusting
1Tsp butter {baking pan}
1Tsp olive oil {rising bread}
1Tsp milk {brushing on the pav}
Directions
Making Dough
- Grease a bowl with olive oil & set aside.
- In a bowl add flour, yeast, salt, sugar & butter.
- To that add milk little by little & mix well.
- Knead dough for 10mins.
- Form a dough & place the dough in greased bowl.
- Cover up & keep it in a warm place.
- Allow it to raise for 1&1/2 hrs.
Make Pav
- Grease a baking pan with butter.
- Dust a wooden board with flour & place the risen dough.
- Punch out all the air & knead dough for 5mins.
- Divide the dough into equal size small balls.
- Place them in the baking sheet leaving a little space in between.
- Cover up & allow the bread to rise for 1&1/2hr.
Baking
- Pre heat oven @350degrees for 10mins.
- Brush dough with milk & place them in oven.
- Bake @350degrees for 30mins or till the pav are brown on top.
- Remove from oven & brush some butter to them.
- Allow them to cool before serving.
- Serve as you like.
Note
- Use a bigger bowl for rising dough.
- If dough comes out sticky add some flour & knead the dough. 
- If the place is too warm the risen dough will smell like yeast. 
- Don't exceed the rising time of bread, or it will smell like yeast.

Follow me on "Facebook", "Google+", "Pinterest" for daily updates. Leave me a comment on any queries regarding this recipe & I will be able to answer it for you as soon as possible.Check out the Blogging Marathon page for the other Blogging Marathoners doing BM# 40.


Tuesday, May 27, 2014

Chocolate Coconut Rolls


Chocolate coconut rolls are made eggless with very interesting filling in them. These are similar to cinnamon rolls, which are sticky & yummy. 
Eggless - I followed a vegan recipe to eliminate eggs from them & loved them very well. 
Brown sugar - I always loved the taste of brown sugar & replaced normal sugar to it. I don't know if that had changed the color a little to the rolls but for sure they were very tasty. 
Glaze - The glaze was simple & I glazed it just for the pictures. I loved the rolls as they are. 
Prep Time-3hrs {rising time & making} | Cook Time-20-25mins | Yields-16 rolls
Adapted From:Whipped
Ingredients 
4&1/4Cup all purpose flour
1/4Cup flour for dusting {use as needed}
1Pack instant yeast
1Cup milk
1/4Cup water {use as needed}
1/2Cup brown sugar 
1/4Tsp salt
6Tbs butter @ room temperature
1Tsp olive oil 
Chocolate Coconut Filling 
1/2Cup grated dry coconut
1/4Cup hershey's unsweetened chocolate powder
3/4Cup brown sugar 
2Tbs sugar
2Tbs butter melted 
Glaze 
1Cup powdered sugar 
2Tbs water

Making the dough
- Grease a big bowl with olive oil & set aside.
- In a bowl take milk & sugar. Dissolve sugar completely. 
- In a bowl take flour, salt, butter, yeast, milk & sugar mixture.
- Mix flour by adding little by little water as needed.
- Now dust the wooden board with flour. Knead flour for 10mins. 
- Place the dough in oiled bowl & cover it. 
- Allow dough to rise double of it's size. Time might vary but it will be ready in 1&1/2hrs. 
Making of filling & rolling 
- Grease a cooking pan with butter & set side
- Mix coconut, chocolate & sugar in a bowl.
- Transfer the dough on to a dusted wooden board. 


- Using a roll pin spread the dough equally in to a rectangular shape. 
- Brush the dough with butter & spread the chocolate coconut mixture equally. 


- Now roll it from side as shown in the figure. 
- Cut the dough in to 16 equal rolls.
- Now arrange the rolls into pan as shown above. 
- Allow the dough to raise for 30mins. 
Baking rolls
- Pre heat oven @350degrees. 
- Once the rolls are raised brush them with some butter. 
- Bake them @ 350 degrees for 20mins to 25mins or until they are lightly browned. 
- Remove roll from oven & allow them to cool. 
Glaze
- In a bowl mix sugar & water. Allow sugar to dissolve completely. 
- Spread the glaze on the cooled rolls. 
- Rolls are ready to serve.
Note
- You can add 1egg while making the dough. 
- For dough you can replace butter with olive oil.

Follow me on "Facebook", "Google+", "Pinterest" for daily updates. Leave me a comment on any queries regarding this recipe & I will be able to answer it for you as soon as possible.

Check out the Blogging Marathon page for the other Blogging Marathoners doing BM# 40


Sunday, May 25, 2014

Grissini - Italian Breadsticks | How to Make Grissini


Grissini is an Italian bread, which look thin, Long & crispy to bite. These breadsticks can be served as appetizer & will go perfect by them selves. You can mix & match with your favorite dips when serving.

Prep Time-15mins + 1hr {Making dough + Dough rising} | Cook Time-20mins | Yields - 14sticks | Serves- 2people
Adapted from : The Kitchn
Ingredients
3/4Cup all purpose flour
1/4Cup + 1Tbs warm milk
1Tsp instant yeast
1Tbs sugar
1/4Tsp salt
2Tbs butter {@room temperature}
2Tbs sesame seeds for coating
Some oil to grease bowl
Some all purpose flour for dusting
Directions:
Making the dough
- Grease a bowl with oil & keep aside.
- In another bowl mix take flour, yeast, sugar, salt, butter & last add warm milk.
- Using a wooden spoon mix all the ingredients to a smooth dough.
- Dust the wooden board with some flour & knead dough for 10mins.
- Now put the dough in the greased bowl & coat the dough with oil.
- Wrap it with a cloth & keep it in a warm place.
- Allow the dough to rise for 1hr or double it's size.
Baking the sticks
- Preheat oven @350 degrees.
- Prep the cookie sheet with a parchment paper.
- Dust the wooden board with flour & place the risen dough.
- Knead it for few seconds & divide the dough in to 20 small balls.
- Take one ball of dough & roll it into straight, thin stick using your hand.
- Now roll it in sesame seeds & lay on the cookie sheet.
- Repeat the same with rest of the dough balls.
- Now lay them equally on the cookie sheet & allow them to rise for 20mins.
- Bake them @350 degrees for 10mins or till they turn light brown.
- Remove from oven & cool them.
- Serve them with your choice of dip & enjoy.
Note
- I used instant yeast so there was no rising ceremony for it.
- If using active yeast follow the packaged instructions.
- I ended up having a little fat bread sticks after the bread rose.. So roll them little more thinner for sleek sticks.
- I haven't added any flavor to dough. Feel free to customize the dough.
- This recipe was perfect for two.

Follow me on "Facebook", "Google+", "Pinterest" for daily updates. Leave me a comment on any queries regarding this recipe & I will be able to answer it for you as soon as possible.

Check out the Blogging Marathon page for the other Blogging Marathoners doing BM# 40


Wednesday, May 21, 2014

Pineapple Mango Sangria


Sangria is a drink made of red wine, sweetener & added fruits to it. It is named sangria because of it's red color, which comes from the red wine. If the same drink is made of white wine it is called sangria blanca. This summer drink is originated from Spain & Portugal.

Pineapple Mango Sangria is a non-alcoholic drink that is made of two different fruits & a little added sweetener along with fruits. If you are making this drink with store bought juices, do check on the sweet levels & add sweetener wisely. Fizz up this drink with soda or sparkling water.


Prep Time-15mins | Serves-4people
Ingredients  
1/2Pineapple juiced / 3Cups pineapple juice
2Mangoes juiced / 2Cups Mango juice
2Tbs honey/agave nectar {as needed}
1small apple sliced 
5Strawberries sliced 
1Orange sliced 
Few ice cubes
Directions

- In a pitcher mix the 2 juices & honey or agave. Add the sliced fruits to it. 
- Chill & serve or serve with ice cubes right away.


Note

- I used fresh squeezed juice in this recipe.
- Filter the juices twice to the reduce pulp.
- You can use store bought juices & it would be much easier.
- You can add some sparking water or soda.
- If the juices are sweet enough, skip honey or agave from the recipe. 


Follow me on "Facebook", "Google+", "Pinterest" for daily updates. Leave me a comment on any queries regarding this recipe & I will be able to answer it for you as soon as possible.

Check out the Blogging Marathon page for the other Blogging Marathoners doing BM# 40


Monday, May 19, 2014

Mango Avocado Salsa


Mango Avocado Salsa is a tasty & simple dip that can be made & served with less hassle. Salsa is a mexican style dip made of fresh tomatoes, onions, jalapeño peppers, salt & lemon juice. You can always tweak the recipe as you like. This dish doesn't require any cooking & it is easy breezy to make.


Prep Time-10mins | Serves-2people
Ingredients 
1Mango chopped
1Avocado deseeded & chopped 
1Tomato finely chopped 
1/2Onion finely chopped 
2Green chili's / jalapeño deseeded & sliced 
1Tbs lemon juice 
Salt to taste 
Cilantro/Coriander leaves for garnish
Directions 
- In a bowl mix all the above ingredients.
- Adjust taste if needed. 
- Serve with tortilla chips.
Note
-You can cut mangoes to much smaller pieces. Make sure that you won't mash them.

Follow me on "Facebook", "Google+", "Pinterest" for daily updates. Leave me a comment on any queries regarding this recipe & I will be able to answer it for you as soon as possible.

Check out the Blogging Marathon page for the other Blogging Marathoners doing BM# 40


Saturday, May 17, 2014

Overnight Oatmeal with Mango & Almonds | How to Make No Cook Oatmeal


Overnight Oatmeal is a simple yet easy way of making your breakfast ahead of time. It is healthy & feels filling in your tummy. Breakfast is the main meal of the day & it is supposed to be heavier then lunch or dinner, so you should always love gobble on healthy breakfast.
The recipe I'm sharing includes old fashioned oatsmilkmango pieces & yummy almonds on top. I came across few recipes that used yogurt as well in the recipe. I'm sure going to use it in my next recipe, but for now enjoy this dish & don't skip your breakfast.


Prep Time-8hrs | Serves-2people
Ingredients
1/2Cup + 4Tbs oat {old fashioned oats}
1Cup milk {almond milk}
4Tsp brown sugar
1/2Cup finely chopped mangoes
Few almonds chopped for garnish
Directions
- Take 2 bowls. 
- Add 1/4cup + 2Tbs of oats in each bowl. 
- Next add 1/2 cup milk in each bowl.
- Now add 2tsp sugar in each bowl.
- Next add the 1/4cup chopped mango on them. 
- Now refrigerate them overnight. 
- While serving top the bowls with almonds.
Note
- You can play with flavors as you like. 
- The quantity of oats was sufficient & perfect for me. Adjust oats as needed.
- You can replace brown sugar with normal sugar.


Follow me on "Facebook", "Google+", "Pinterest" for daily updates. Leave me a comment on any queries regarding this recipe & I will be able to answer it for you as soon as possible.

Check out the Blogging Marathon page for the other Blogging Marathoners doing BM# 40


Thursday, May 15, 2014

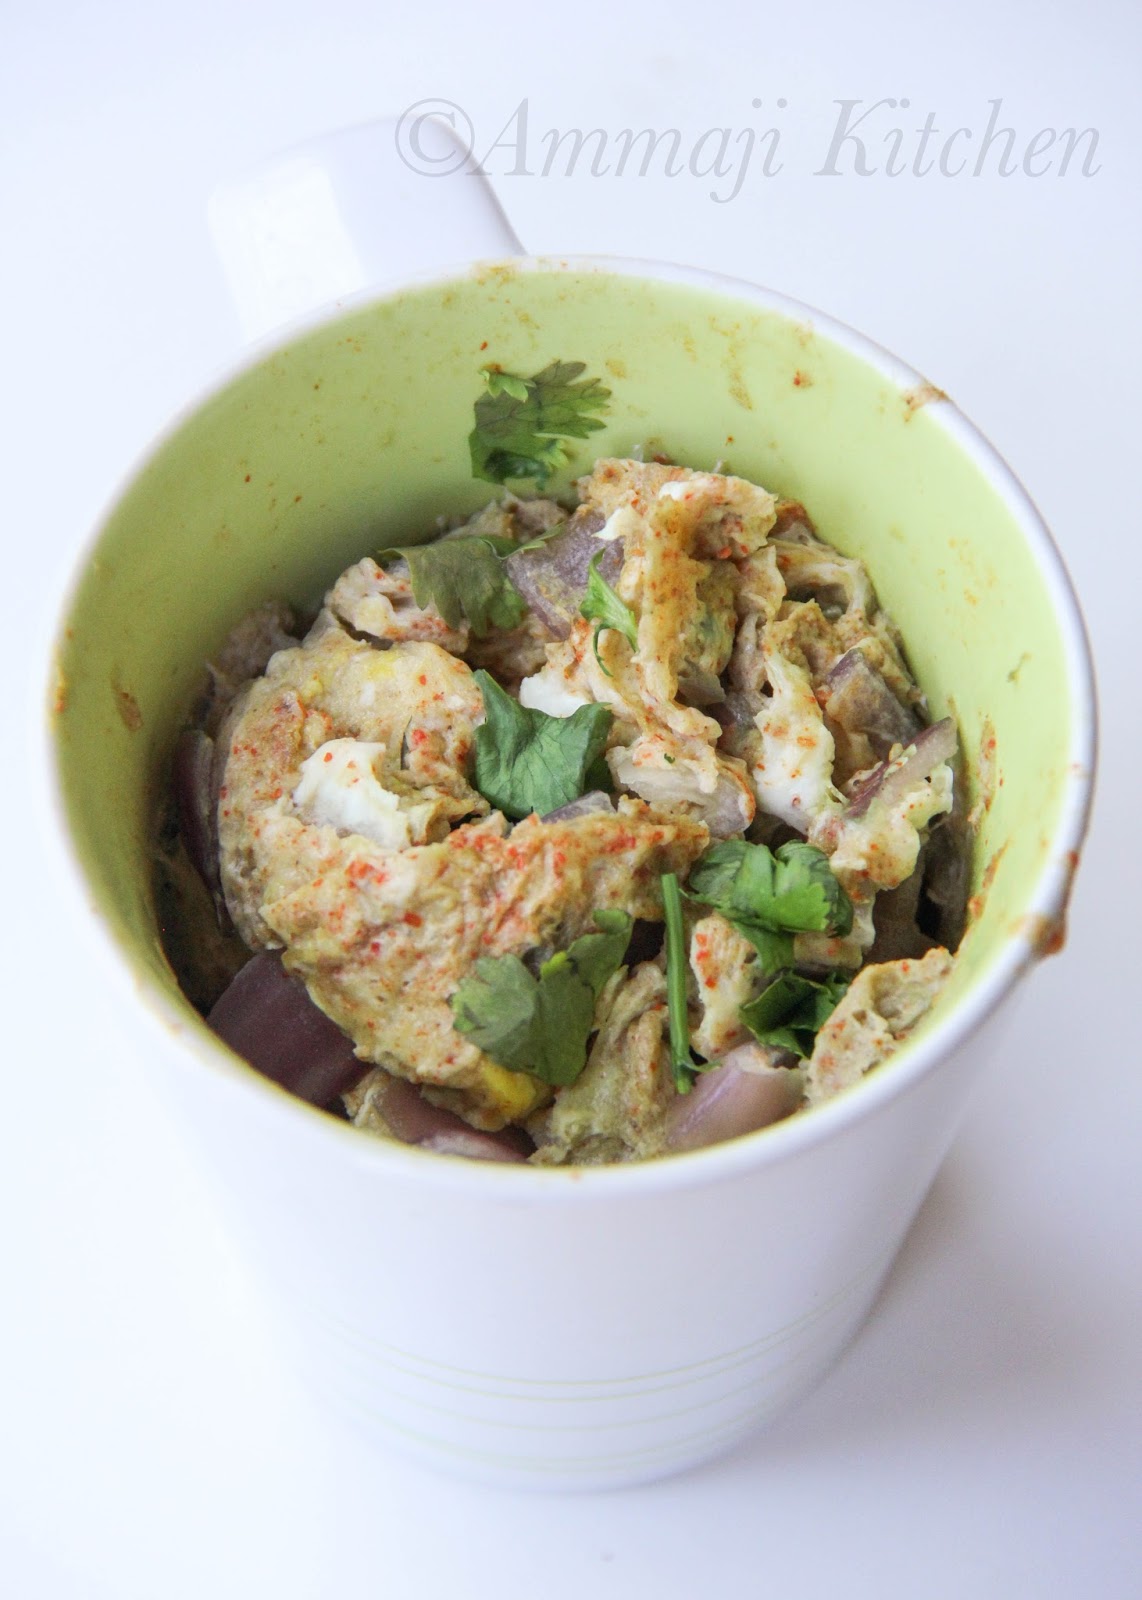
Omelette in Mug

Omelette in Mug

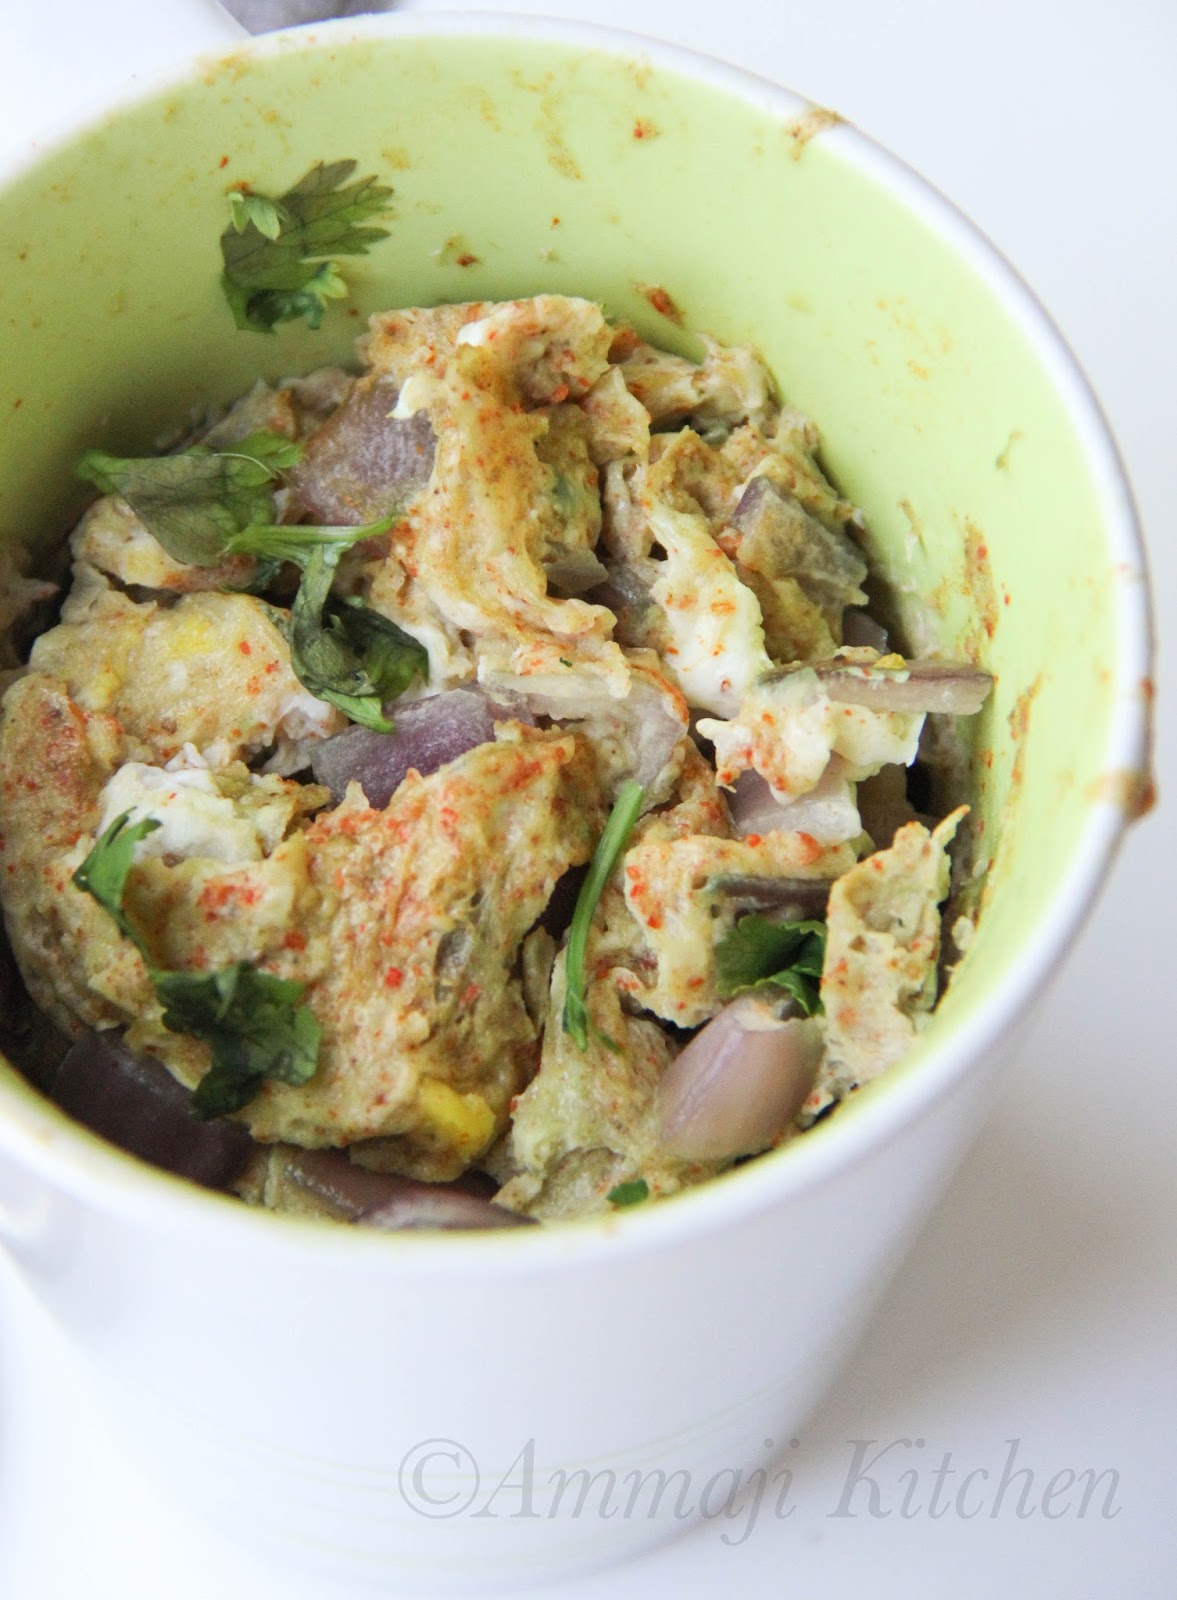
Omelette in Mug - Yes, you read it right. I made an omelet in mug & it was awesome. I came across this recipe in a food site & decided on trying it. I like the traditional way of making omelet but, this way it reduces the make time & less messy too.
This omelette is made of egg whites, but you can also use a whole egg if you like. Egg whites are filled with protein & I love getting protein through food rather than powders. I avoided using oil in this dish & off course you are free to use it. If you want to use oil, grease the mugs with some oil as needed. Using a microwave simplifies & takes less time in cooking. In this dish we microwave it for just 2minutes & the omelette is ready.

Omelette in Mug

Prep Time - 5mins | Cook Time-2minutes | Serves-2people 
Ingredients 
5Egg whites
1/2cup finely chopped onions 
1Tsp red chilli powder {cayenne pepper}
pinch of turmeric
1/4Tsp garam masala powder {optional} 
Salt to taste
Few coriander leaves to garnish
Directions 
- In a bowl add above ingredients other than coriander leaves. 
- Mix them well. Adjust salt & spiciness if needed. 
- Take 2mugs & fill them up half the way. 
- Now microwave it for 1minute.  Take it out & mix the ingredients. 
- Now microwave for another 1minute.
- If you find any liquid then microwave again.
- Garnish with coriander & serve. 
Note
- Microwaving time varies with instrument. Adjust time as needed. 
- You can add veggies if you like. 
- Always use bigger mug. 
- Grease the mugs if you like to. 
- You can use whole egg with out discarding yellows.


Omelette in Mug
Follow me on "Facebook", "Google+", "Pinterest" for daily updates. Leave me a comment on any queries regarding this recipe & I will be able to answer it for you as soon as possible.