Ghee, which can also be called as clarified butter has originated from India & ghee is also used widely in Indian cooking & pooja. Cow's ghee is believed sacred & it is used in pooja, in making prasadam/neivedyam, cooking & also for medicinal use's. The other ghee is made of buffalo milk & it is used for cooking. Ghee might sound & seem like calories, but it also promotes health benefits. Consuming a little amount of ghee per day will help in food digestion & promotes multiple health benefits.
I started making ghee at home for past few months & I'm happy of using a healthy home made ghee rather than a store bought one. A store bought ghee is never a pure ghee & it has added vegetable oil's in it. After I read about that, I decided to make some ghee at home & was happy that it was successful. This is not a traditional Indian style ghee. In USA even though if you are using a full fat milk, it is hard to get butter out of it. So for ghee enthusiasts in USA, this is how you can make ghee at home & enjoy all the goodness of it.
Ingredients
1Litre heavy whipping cream
1Tsp methi seeds {fenugreek seeds}
Tools Needed
Big bowl
Electric whisk / Whisk
2 Strainers
A wide non-stick pan
Spatula
Directions
- Take whipping cream in a big bowl.
- Whip the heavy cream using a electric whisk.
- As seen in 3rd pic whip cream to stiff peaks. It might take a little time.
- Keep whipping until use see the cuddled cream separating.
- Strain the buttermilk as shown above.
{If you are using cheese cloth then you can squeeze the extra water from the butter right away.}
- Make balls of butter by squeezing extra water.
{You can store butter as it is or can go ahead make ghee}
- Heat a non-stick pan on low heat. Add butter & methi seeds to it.
- Allow butter to melt completely & keep cooking for few more minutes to little dark golden in color. You can see milk solids separating from butter.
- Ghee should be golden in color & you can feel the nice aroma of perfectly done ghee. Switch off heat when the ghee looks golden.
- Allow it to cool completely before you strain.
- Strain ghee in to a clean jar.
*** The fried milk solids are called "Goku" in telugu. They taste very good & delicious. You can have as it is or mix with any of your favorite rice dish.
Follow me on "Facebook", "Google+", "Pinterest" for daily updates. Leave me a comment on any queries regarding this recipe & I will be able to answer it for you as soon as possible.
Showing posts with label Kitchen Basics. Show all posts
Monday, August 11, 2014
Friday, July 11, 2014
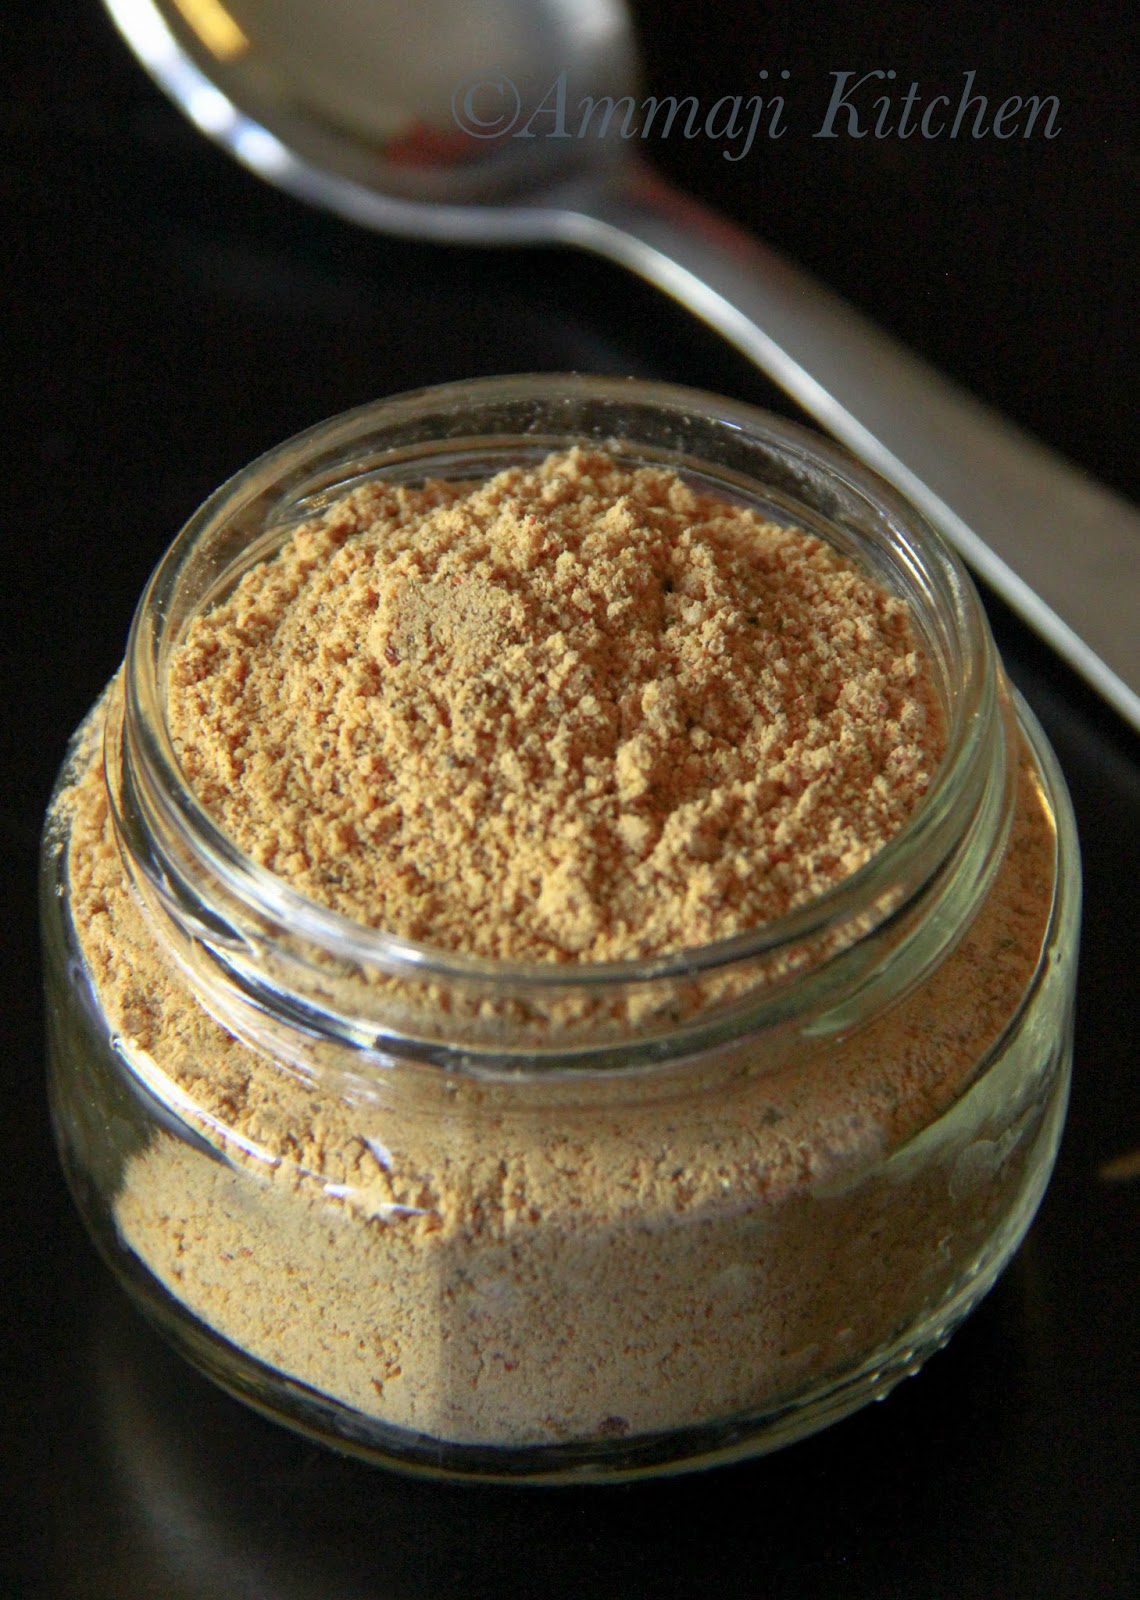
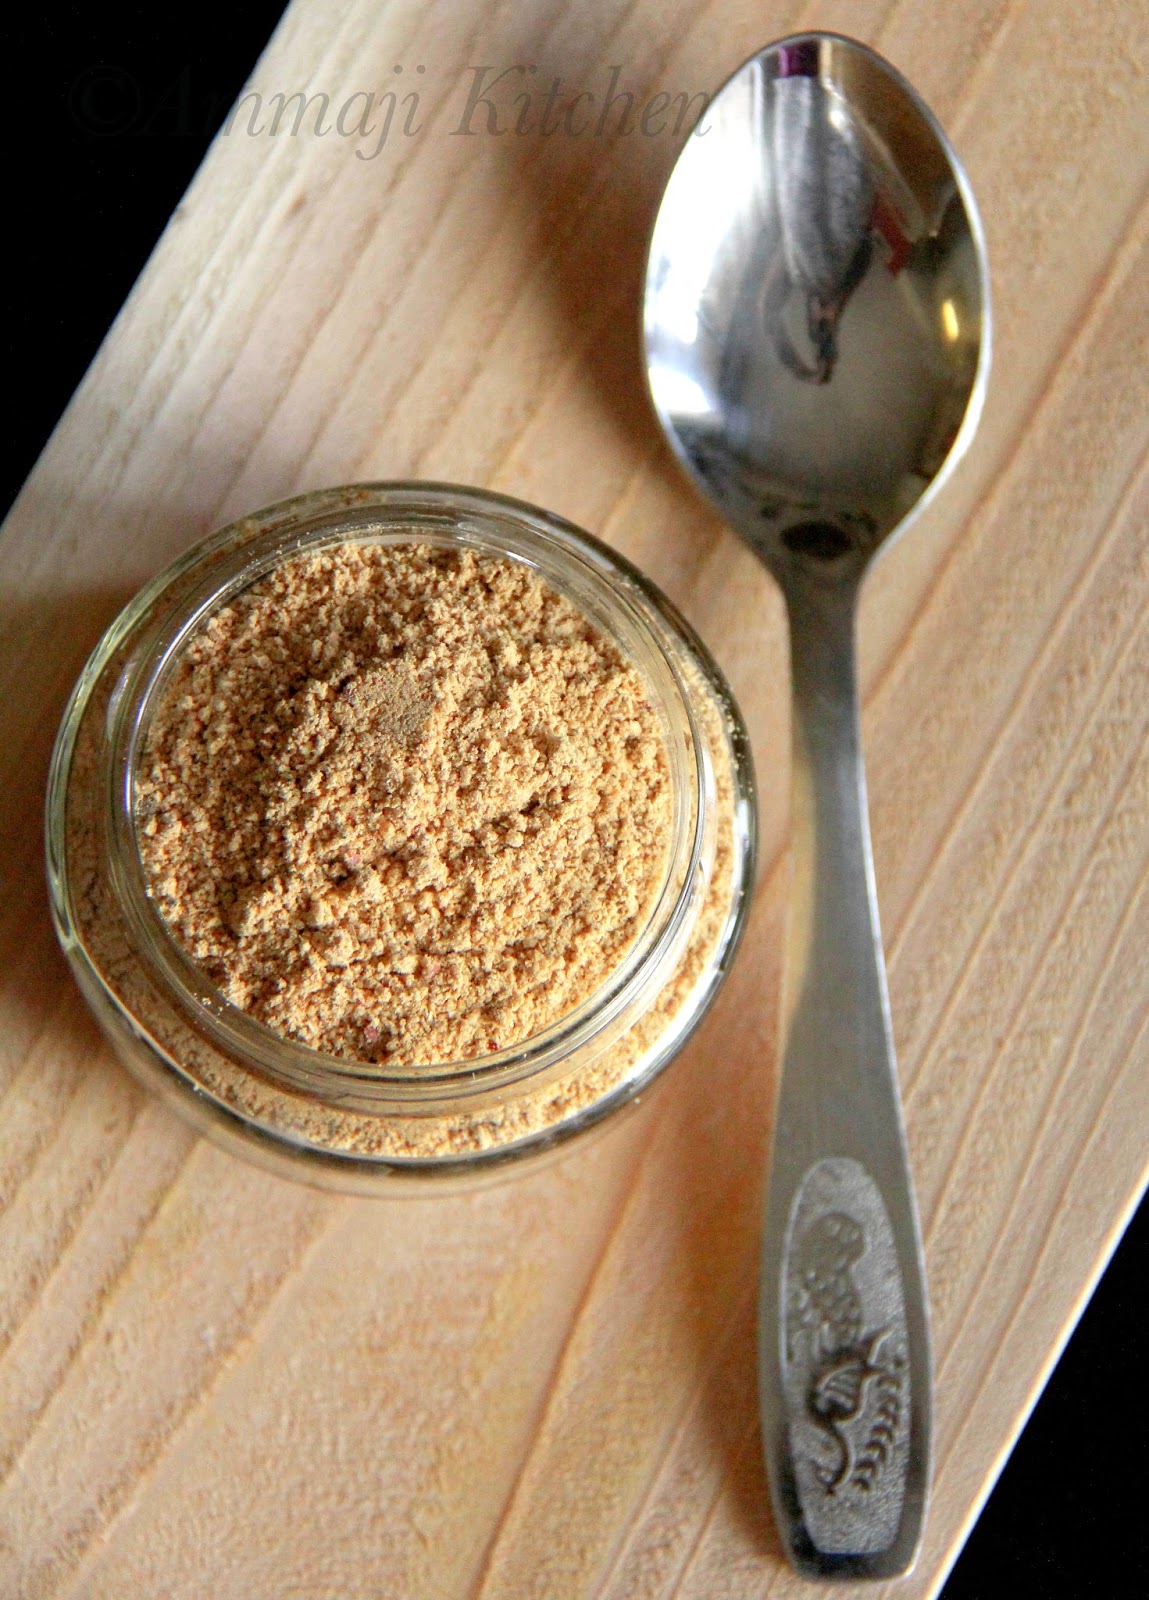
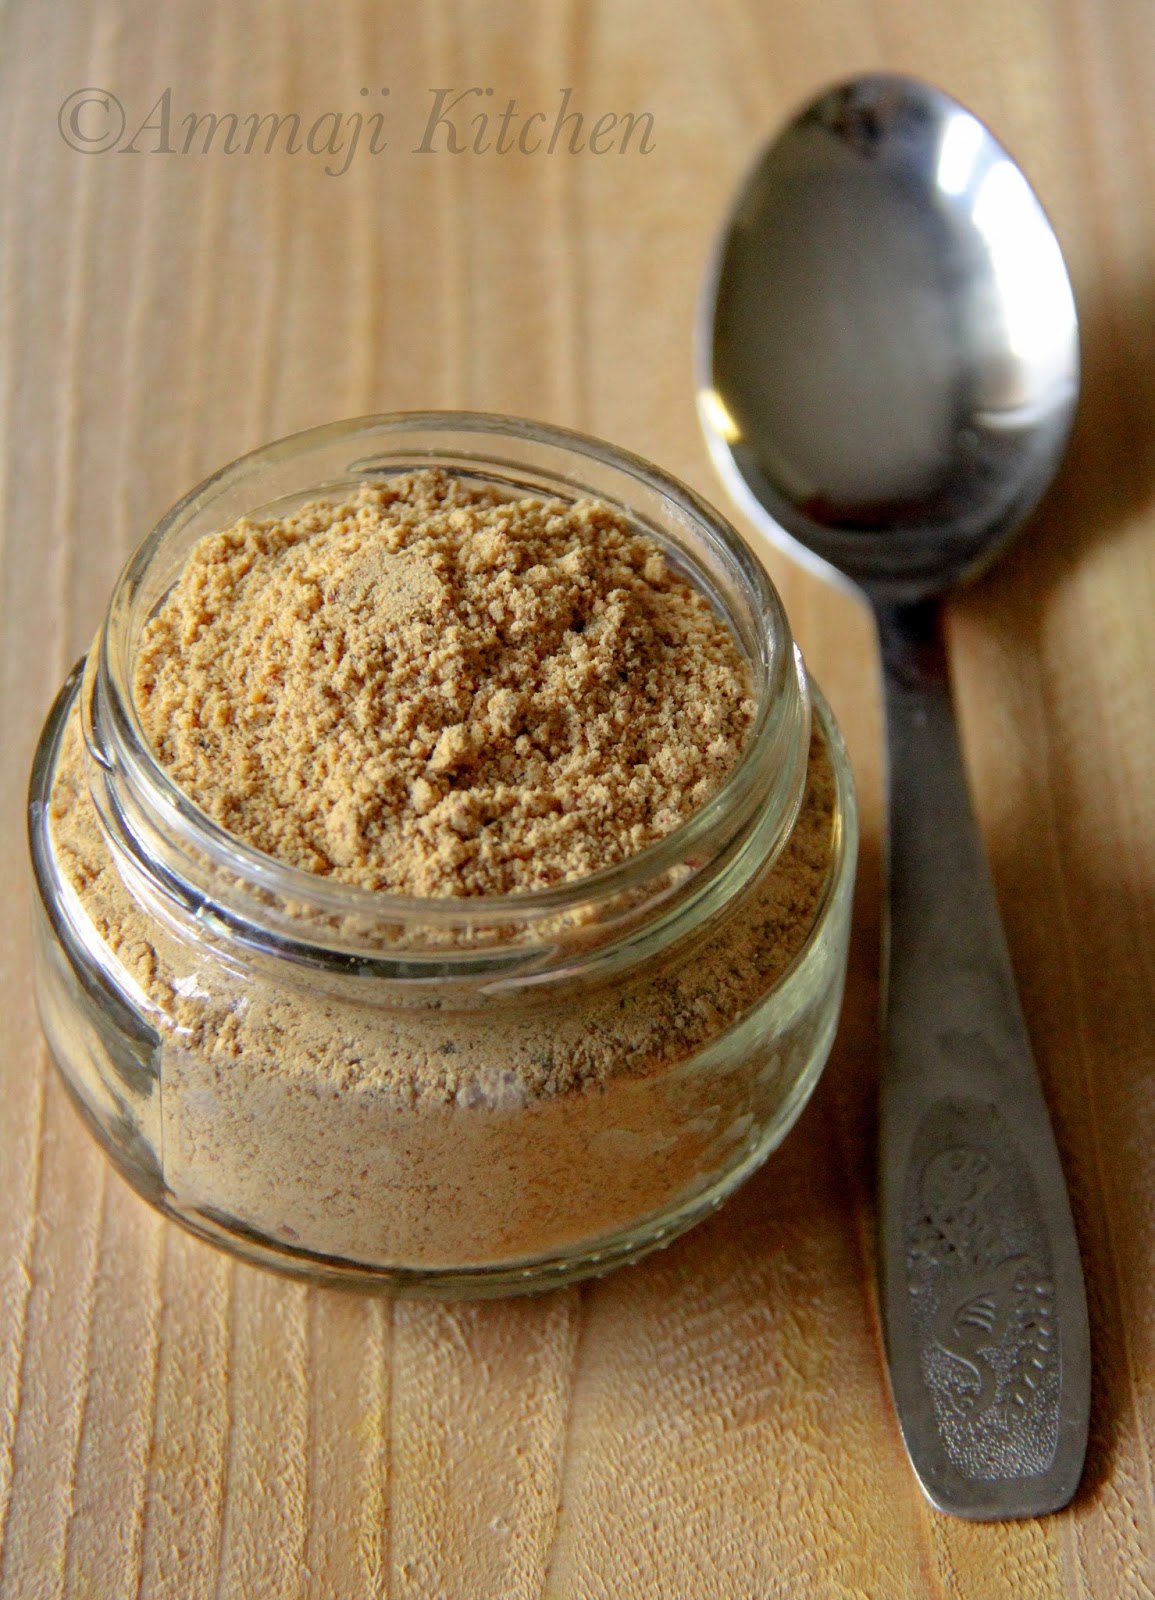
Chutney Podi | Chutney Powder
For this week theme on BM I'm presenting " South Indian Meal Dishes-Karnataka Cuisine". Enjoy the dishes & don't miss the update. Check out the Blogging Marathon page for the other Blogging Marathoners doing BM# 42.
Chutney Podi/ Chutney Powder is a karnataka style spice powder, which perfectly goes with breakfast dishes & rice. This powder is packed with flavors from dal's, tamarind, red chili's, coconut & also sweetness from jaggery.
I followed a online recipe while making it, but changed the measurements & few ingredients as needed. One of those ingredient is red chili's. The recipe was asking for both Guntur & Byadagi chili's. I replaced them with mexican red chili's, which I have in hand.
This is my first time making this powder & it was heavenly good. The coarse grinding left this powder with crunchiness in every bite.
Give this powder a try...
Adapted from-Big Apple Curry
Prep Time-5mins | Cook Time-15mins | Serves-4people
Ingredients
1/4Cup urad dal
1/4Cup chana dal
2Tbs toor dal
1/4Cup grated dry coconut
13Red chili's
1/4Cup curry leaves
1Tbs grated jaggery
1Tsp size ball of tamarind
1/2Tsp + 1/2Tsp oil
Salt to taste
Directions
- Heat pan with 1/2tsp oil. To that add urad dal & fry it till
- Keep stirring the dal. Fry till it changes to light brown color. Remove on to a plate.
- Repeat the same with chana dal & toor dal too.
- Now to same pan add grated coconut & fry it for few seconds or till they are little crisp. Remove it on to a plate.
- Add 1/2tsp oil to pan. To that add red chili's, tamarind & curry leaves.
- Fry them till curry leaves are crisp & red chili's are puffed up. Switch off heat & remove them on to a plate.
- Allow all the fried ingredients to cool down before grinding.
- Now grind all the fried ingredients along with jaggery & salt.
- Grind it to coarse powder. Adjust salt if needed.
***Serve this powder with a dollop of ghee. Goes well with rice, idli, dosa & also you can serve as you wish***
Note
- You can replace jaggery with sugar or if you want to you can totally remove them from recipe.
- I used non-stick pan to fry dal's & used very little of oil.
- Store powder in a air tight container & refrigerate it.
Follow me on "Facebook", "Google+", "Pinterest" for daily updates. Leave me a comment on any queries regarding this recipe & I will be able to answer it for you as soon as possible.
Labels:
Blogging Marathon,
Kitchen Basics
Thursday, June 26, 2014
Methi Powder | Menthi Podi | How to Make Methi Powder
Methi Powder / Menthi podi is a very essential kitchen basic & at home it is one of ingredients I use on a daily basis. This powder comes handy & can be added to pickle's, rasam, dal & some chutney's that go well with it.
Methi Powder is made of slightly fried Methi seeds or Menthulu, which are later grind to a smooth powder. Quantity of adding this powder changes from one recipe to other. This powder is bitter to taste & when mixed with other dishes it totally adds a unique flavor, while the bitter taste just disappears.
Apart from cooking, this powder has numerous health benefits to it. You can use it as a face & hair mask & results are amazingly good.
Ingredients
1/4Cup methi seeds {Menthulu}
Directions
- Heat a pan with methi seeds.
- Dry roast them for few minutes or until they change their color to little dark brown.
- Switch off heat & allow them to cool completely.
- Grind them to a smooth powder.
- Store it in a air tight container & it stays good for 1month.
Labels:
Kitchen Basics
Monday, March 24, 2014
Vangi Bath Powder
Prep Time-10mins | Cooking Time-10mins
Ingredients
8Red chili's
3Tsp coriander seeds
1Tsp cumin
1Tbs urad dal
1Tbs channa dal
2Tbs coconut flakes
2Marati moggu
2Inch cinnamon stick
3Cloves
1Tbs seasame seeds
1/2Tsp turmeric powder
1Tsp oil
Few curry leaves
Pinch of hing
Directions
- Heat pan with oil. To that add all the above ingredients other than coconut & turmeric.
- Roast them to a light brown color. Switch off heat. At this stage you smells the roasted aroma of spices.
- Add coconut & turmeric to pan.
- Once the ingredients are cool grind them to a smooth powder.
- Store it in a air tight container & refrigerate it.
- Stays fresh for couple weeks.
Follow me on "Facebook", "Google+", "Pinterest" for daily updates. Leave me a comment on any queries regarding this recipe & I will be able to answer it for you as soon as possible.
Labels:
Kitchen Basics
Wednesday, March 5, 2014
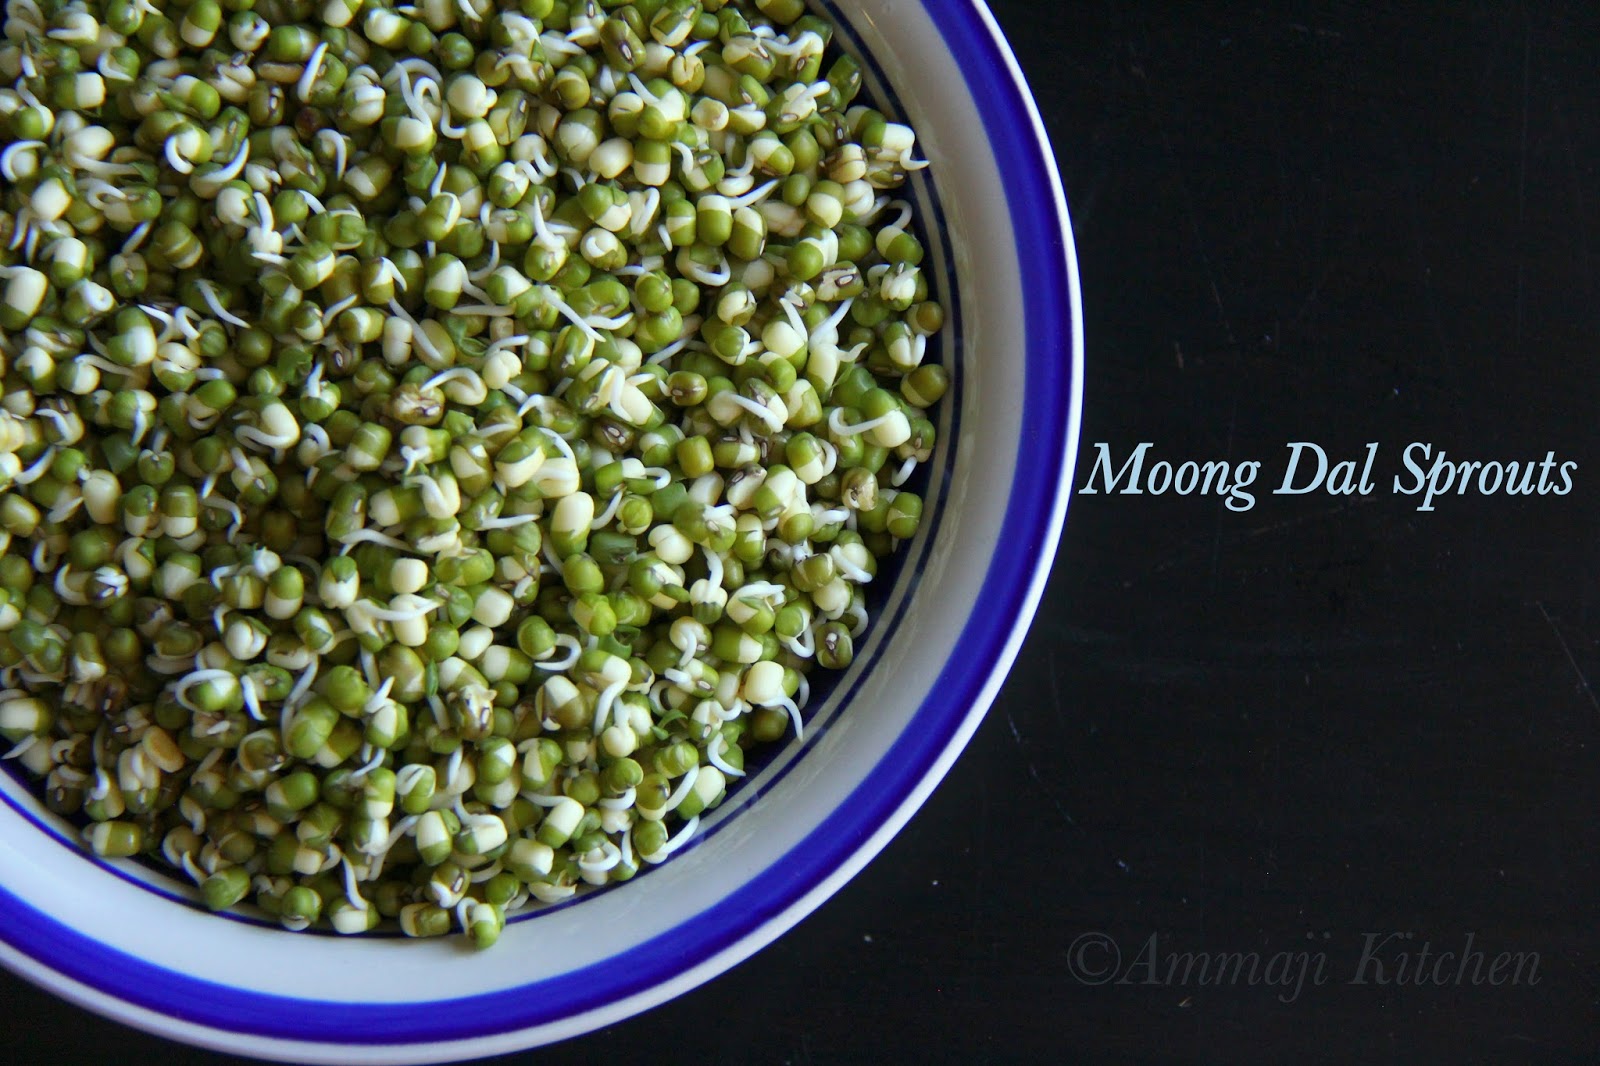
Moong Dal Sprouts | How to make Moong Dal Sprouts ?
How to sprout??? Yah.. When you are thinking & trying to be healthy, sprouted beans are involved in it. Other day I was randomly checking the calorie facts of mung bean & to my surprise 1Cup of sprout beans are just 31 calories. I was jumping in joy..of-course in my head & went a head making a snack bowl for the eve.
Bean & lentils take at least 2days of time to sprout. Plan ahead if you want to snack on them. Coming to sprouting, I remember my mom making them in a cheese cloth & I have seen many tutorials with different methods. so here is how I have done.
Ingredients
1/2Cup moong beans / mung beans
Directions:
1. Soak Moong beans for 16hrs. I checked the beans after 8hrs and I could see some beans haven't puffed yet. I went ahead & soaked them for next 8hrs.
2. Drain the water & give them a good wash.
3. Now comes the sprouting part. If the bowl is small then transfer beans in to a wide bowl & close it with a lid in a way you allow a little air in to it.
4. They sprouted a little after 8hrs.
5. After another 8hrs they are fully sprouted & ready to snack on.
Follow me on "Facebook", "Google+", "Pinterest" for daily updates. Leave me a comment on any queries regarding this recipe & I will be able to answer it for you as soon as possible.
Labels:
Kitchen Basics
Tuesday, February 25, 2014
Sambar Powder | Sambhar Podi
Sambar powder is one of the basic spice powders where every south indian household has it in their kitchen racks. This powder recipe has different variations from region to region. I got this recipe from my mom & she makes a fresh powder of this recipe every time she makes sambar. She prefers using fresh powder to stored one because of it's flavor. She uses the same recipe when making it in bulk too.
Cook Time-10mins | Prep Time-5mins | Yields-5Tbs of powder
Ingredients
2Tbs chana dal / senaga pappu
2Tbs urad dal / minapappu
2Tsp cumin
1Tsp methi
5Tbs coriander seeds
6Red chili's
2Tbs black pepper
2Strands of curry leaves
1Tsp hing / Asafetida
2Tbs grated dry coconut
1Tsp oil
Directions
- Heat pan with 1/2tsp oil & to that add chana dal & urad dal. Fry them till they change light to a little darker shade.
- Transfer them on to plate & allow them to cool.
- Now add another 1/tsp oil to pan & rest of the ingredients other then coconut .
- Fry them to till they are changed to a little darker shade & switch off heat & allow it to cool.
- Once they are cool enough grind them to a smooth powder along with coconut.
- Store it in a air tight container for freshness.
Similar recipes you might like:
Follow me on "Facebook", "Google+", "Pinterest" for daily updates. Leave me a comment on any queries regarding this recipe & I will be able to answer it for you as soon as possible.
Labels:
Kitchen Basics
Thursday, February 13, 2014
Ginger Garlic Paste
Ginger Garlic paste is a essential & one of the paste's that has to be available in a kitchen. It makes easy for all the gravy curries, rices dishes & for all those dishes which need a little kick to them.
Prep Time-10mins | Yields-8servings
Ingredients
1/2Cup chopped ginger
3/4Cup chopped garlic
1Tsp lemon juice
1/2Tsp turmeric powder
Directions
- Blend all the ingredients to a smooth paste.
- Transfer the paste to a air tight container & store it in a refrigerator.
- It stays good for one week.
Note:
- You can freeze this in paste for a longer stay.
- Never add any water to get the smooth consistency. It decreases the self life.
Labels:
Kitchen Basics
Tuesday, February 11, 2014
Endu Kobbari Karam | Spicy Dry Coconut Powder
Kobbari podi or kobbari karam is a spice powder that can be enjoyed as it is along with or can also be used as a curry powder to flavor up a dish.
Prep Time-10mins | Cook time-5Mins | Yields-4Servings
Ingredients
1Cup grated dry coconut
5Red chili's
4Garlic cloves
1Tsp cumin
Salt
Directions
- Heat a pan & dry roast red chili's, garlic & cumin. roast till red chili's & cumin are fried to little darker shade.
- Switch off heat & allow them to cool before grinding.
- Grind coconut, salt & the roasted ingredients coarsely.
- Adjust salt if needed & transfer it to a air tight container.
Note:
- Store it in a air tight container for freshness.
- This stays good for 2 weeks. Make in small batches.
- Don't use fresh grated coconut.
Labels:
Kitchen Basics
Monday, February 10, 2014
Rasam Powder | Charu Podi | Saaru Podi
Cook Time-10mins | Prop Time-10mins | Yields - 7Servings
Ingredients
1/2Cup toor dal / kandi pappu
3Tbs coriander seeds / dhaniyalu
1Tsp cumin
1Tsp black pepper
1/2Tsp methi
4Red chili's
Directions
- Heat a pan & add toor dal to it. Dry roast them till toor dal changes it color to darkish yellow.
- Transfer dal on to a plate & allow it cool. Mean while heat the same pan with rest of the spices.
- Dry roast them till they change to light brownish color. Switch off heat & transfer spices to the dal plate.
- Allow them to cool completely before grinding.
- Grind them to a coarse powder.
Note:
- Store powder in a air tight container
- Make it in small batches to have a flavorful rasam.
Follow me on "Facebook", "Google+", "Pinterest" for daily updates. Leave me a comment on any queries regarding this recipe & I will be able to answer it for you as soon as possible.
Labels:
Kitchen Basics
Sunday, February 2, 2014
Almond Milk - Homemade
Almond Milk is healthy alternative for regular cow's milk. It consists of omega-3 fatty acids, vitamins, proteins & less calories compared to regular milk. It is also know as a heart healthy drink & can also help in lowering your bad cholesterol.In general a cup of almonds have 500 & odd calories & when we prepare milk from them the whole calories are divided the cups of water you have added.
Ingredients
1Cup almonds
1Tsp vanilla extract
Pinch of salt
6Cups water
2Dates (Soaked overnight)
Ingredients
1Cup almonds
1Tsp vanilla extract
Pinch of salt
6Cups water
2Dates (Soaked overnight)
Soak almonds for 6hrs to 8hrs in sufficient water.
After 8hrs in a blender add almonds, water, salt & vanilla extract.Now blend them till the almonds milk can be seen as above. All the water in blender changes to whitish color. This means your almond milk is ready.
Now filter the milk using a mesh filter & a cheese cloth.
Squeeze out all the milk from almonds.
Store it in a air tight container & refrigerate it.
Enjoy it as you like.
Follow me on "Facebook", "Google+", "Pinterest" for daily updates. Leave me a comment on any queries regarding this recipe & I will be able to answer it for you as soon as possible.
Labels:
Kitchen Basics,
Vegan
Subscribe to:
Posts (Atom)