Showing posts with label Snacks. Show all posts

Friday, September 12, 2014

Korean Pan-Fried Tofu with Sauce | Dububuchim-Yangnyeomjang

Pan-Fried Tofu is a perfect snack or you can enjoy it as a side with fried rice. Sauce elevates the flavor of bland tofu to a super delicious level. We need a firm tofu for this dish, so that it can with stand the heat & won't crumble up while cooking. Serve with a little extra sauce in a bowl to dip tofu in & it will be much more satisfying.
To know what my other friends are cooking, check out the Blogging Marathon page for the other Blogging Marathoners doing BM# 44. 
Adapted from Maangchi.
Prep Time-5mins | Cook Time-10mins | Serves-2people
Ingredients 
1/2Block of firm tofu equally sliced  {1/2 of 19oz pack}
2Tbs oil
2Tsp sesame seeds
Sauce 
1Tbs soya sauce
1Garlic clove minced
2Scallions chopped
1Tsp honey 
1Tsp sesame oil 
2Tsp red chili powder
Pinch of salt
- In a bowl mix all the above sauce ingredients & keep aside.
Directions
- Heat a non-stick pan with oil. 
- Add the tofu slices to pan & cook them crisp on each side. They should be a little more than brown on each side.
- Now layer tofu on a plate & splash the sauce on tofu pieces by covering them evenly.
- Sprinkle sesame on tofu & enjoy the dish.
Follow me on "Facebook", "Google+", "Pinterest" for daily updates. Leave me a comment on any queries regarding this recipe & I will be able to answer it for you as soon as possible.


Wednesday, September 3, 2014

Pebre Sauce

Today I'm sharing a chili sauce from Chile. To know what my other friends are cooking, check out the Blogging Marathon page for the other Blogging Marathoners doing BM# 44.
Pebre Sauce
Pebre Sauce is Chilean Chili Sauce which can be topped on bread, can be used as a rub for meat or can be served as a dip along with tortilla chips. The word pebre means pepper & you can add any type of pepper of your choice in making this dish. You don't have to grind but for a perfect chunky structure I preferred using a food processor in making this sauce. I loved this sauce as a dip along with tortilla chips.
Pebre Sauce
Adapted from here
Prep Time-10mins | Serves-2People
Ingredients 
2Cups of cilantro 
1Small onion chopped
1Roma tomato chopped
1Garlic clove chopped
1/2Tbs red wine vinegar
1Tbs avocado oil/olive oil
1Tbs chili sauce {used sriracha} {Adjust as needed}
Salt to taste 
Directions
- Wash & pat dry cilantro. Separate leaves from stems. 
- In a food processor crush cilantro & vinegar to a chunky consistency. Transfer it to a bowl.
- Next add chopped onions & garlic to food processor & grind to chunky bites. Transfer it to cilantro bowl.
- Now grind tomatoes to chunky bites & add them to the cilantro onion bowl.
- Now add chili sauce, salt & oil to bowl. Mix them well. 
- Adjust the taste {salt & chili sauce} if needed. 
- Chill it & serve or serve it right away.
Note
- Add another 1/2tbs of red wine vinegar if you want to. 1/2Tbs was just fine to me.
Pebre Sauce by
Follow me on "Facebook", "Google+", "Pinterest" for daily updates. Leave me a comment on any queries regarding this recipe & I will be able to answer it for you as soon as possible.


Friday, August 15, 2014

Janthikalu


Janthikalu are a Andhra savory festive dish. These are made ahead of time for any festivals or happy occasions along with a sweet dish. Janthikalu can be made of mixing few different flours along with flavorings add to it. The mixing flours doesn't have to be the same always. My grand mom use to mix rice flour with atta flour to make janthikalu, which are very friendly to your tummy. Here I'm sharing one of those versions of Janthikalu with you all. 
Prep Time-15mins | Cook Time - 40mins | Servings -
Ingredients 
2Cups rice flour
1Cup besan 
1/2Tsp turmeric
4Tsp chili powder {adjust as needed}
2Tbs sesame seeds
2Tbs melted ghee
2&1/2Tsp salt {adjust as needed}
1Cup + 1Tbs water
Oil for deep frying 
Directions
Making Dough
- Sieve rice flour & besan in to a bowl. 
- To that add chili powder, sesame, salt, turmeric & ghee. 
- Mix them well with a spatula. 
- Now add 1cup water little by little to the flour & mix to form a ball of dough. 
- Adjust salt & chili powder if needed.
- Close it with a wet cloth and keep aside while the oil is getting hot. 
Making Jantikalu 
-Now take a janthikala gottam or murukku maker with your choice of hole plate.
Divide dough into 4 equal balls. 
- Wet your hands & then pick a dough balls & place it in the murukku maker as shown above.
- Mean while heat oil for deep frying on medium heat. 
- Test the murukku maker before going ahead. 
- Now press janthika in a circular motion as shown in the above figure in to hot oil. 
- Oil will bubble up & as the janthika is cooked it reduces. 
- Turn over janthika for even frying on both sides. 
- Once it is cooked well remove it on to a paper towel to absorb the left oil. 
- Now repeat the same with rest of the dough.
- Later store janthikalu in a air tight container to keep the fresh.
Note
- Oil should be perfectly hot. 
- To test the heat of oil,drop a pinch of dough ball in to oil & it should float immediately on top. 
- If you are making dough a little head of time, than close it with a wet towel to, so that the dough won't dry out. 
- Be careful with hot oil. 
Follow me on "Facebook", "Google+", "Pinterest" for daily updates. Leave me a comment on any queries regarding this recipe & I will be able to answer it for you as soon as possible.

Saturday, May 31, 2014

Pav Bhaji | How to Make Pav Bhaji


Pav Bhaji is a much known Indian fast food originated from Maharashtra. It used to be a lunch for mill workers, which was invented by a street vendor to reduce their lunch time.This mill worker's food became widely famous & is being enjoyed by all.
Pav means bread & they look mostly rectangular & some times round in shape. This bread is soft & has a kind of sweet taste to it. You can buy this bread from a grocery store or from a local bakery shop. You can also bake your own bread, as I have done for this recipe. 
Bhaji means vegetable curry. For this dish I used mix of chick peas & veggies.I have seen many street vendors adding chick peas to their bhaji & they use the same bhaji for samosa chat & in few other chat's. 
Pav Bhaji is enjoyed along with sliced onion & a little spread of lemon juice. 


Prep Time- 10mins | Cook Time-30mins | Serves-
2people
Ingredients
1/4Cup kabuli channa {chick Peas}
1&1/2Cup potatoes chopped {2medium potatoes}
1Carrot chopped
1/2Cup green peas
1Cup chopped onion 
2Tomatoes chopped
2Garlic cloves minced
1/4Cup water
1/4Tsp turmeric 
1Tsp chili powder {adjust as needed}
2Tsp pav bhaji masala / garam masala
2Tbs coriander chopped
3Tbs oil
For Pav & Serving 
3Tbs butter / ghee
7 Pav
Finely chopped onions 
1Lemon slice
Directions
- Pressure cook potatoes, carrot, chick pea & green peas for 2whistles. Allow it to cool.
- Mean while heat pan with oil. Add onions to pan a along with garlic.
- Fry till onions are soft. 
- Add tomatoes to pan & cook them till oil separates.
- Mash the pressure cooked ingredients & add them to pan along with water.
- Cook on low heat for 3mins. 
- To that add salt, chili powder & masala powder.  Adjust salt & chili powder if needed.
- Cook them on low heat with a closed lid for 5mins.
- Switch off heat & garnish with coriander leaves.


For Serving
- Heat a pan with little butter. 
- Cut pav in to half horizontally. 
- Place them on the butter & cook them till they are crisp & browned a little.
- Repeat the same with rest of the pav's. 
- Serve with bhaji, onions & lemon slice.
Note
- You can avoid chick pea & replace it with 1Cup cauliflower.
- If you don't have pav bhaji masala replace it with garam masala.
- You can butter instead of oil for frying onions.


Follow me on "Facebook", "Google+", "Pinterest" for daily updates. Leave me a comment on any queries regarding this recipe & I will be able to answer it for you as soon as possible.

Wednesday, May 28, 2014

Pav | How to make Pav


Pav is Indian yeasted bread. The most famous snacks include pav bhaji, Vada pav, misal pav, masala pav etc..
Origin - This bread “Pao” was introduced by Portuguese when they ruled Goa {India} in 15th century. Later in migration it this bread was brought to Mumbai & it became famous over there. {Sources: Holiday Goa}
Recipe - The recipe is simple & doesn't involves eggs. I used milk in this recipe instead of water & kneaded it for 10mins before & after rising. Making small dough balls will allow the bread to be soft & smooth after it was baked.

Prep Time-3hrs | Cook Time-30mins | Serves-3people | Yields-7pav's
Ingredients
1&1/2Cups all purpose flour {unbleached}
1/2Cup + 2Tbs milk { add as needed}
2Tsp instant yeast
1/4Tsp salt
1Tbs +2Tsp sugar
1Tbs butter melted
1Tbs flour for dusting
1Tsp butter {baking pan}
1Tsp olive oil {rising bread}
1Tsp milk {brushing on the pav}
Directions
Making Dough
- Grease a bowl with olive oil & set aside.
- In a bowl add flour, yeast, salt, sugar & butter.
- To that add milk little by little & mix well.
- Knead dough for 10mins.
- Form a dough & place the dough in greased bowl.
- Cover up & keep it in a warm place.
- Allow it to raise for 1&1/2 hrs.
Make Pav
- Grease a baking pan with butter.
- Dust a wooden board with flour & place the risen dough.
- Punch out all the air & knead dough for 5mins.
- Divide the dough into equal size small balls.
- Place them in the baking sheet leaving a little space in between.
- Cover up & allow the bread to rise for 1&1/2hr.
Baking
- Pre heat oven @350degrees for 10mins.
- Brush dough with milk & place them in oven.
- Bake @350degrees for 30mins or till the pav are brown on top.
- Remove from oven & brush some butter to them.
- Allow them to cool before serving.
- Serve as you like.
Note
- Use a bigger bowl for rising dough.
- If dough comes out sticky add some flour & knead the dough. 
- If the place is too warm the risen dough will smell like yeast. 
- Don't exceed the rising time of bread, or it will smell like yeast.

Follow me on "Facebook", "Google+", "Pinterest" for daily updates. Leave me a comment on any queries regarding this recipe & I will be able to answer it for you as soon as possible.Check out the Blogging Marathon page for the other Blogging Marathoners doing BM# 40.


Sunday, May 25, 2014

Grissini - Italian Breadsticks | How to Make Grissini


Grissini is an Italian bread, which look thin, Long & crispy to bite. These breadsticks can be served as appetizer & will go perfect by them selves. You can mix & match with your favorite dips when serving.

Prep Time-15mins + 1hr {Making dough + Dough rising} | Cook Time-20mins | Yields - 14sticks | Serves- 2people
Adapted from : The Kitchn
Ingredients
3/4Cup all purpose flour
1/4Cup + 1Tbs warm milk
1Tsp instant yeast
1Tbs sugar
1/4Tsp salt
2Tbs butter {@room temperature}
2Tbs sesame seeds for coating
Some oil to grease bowl
Some all purpose flour for dusting
Directions:
Making the dough
- Grease a bowl with oil & keep aside.
- In another bowl mix take flour, yeast, sugar, salt, butter & last add warm milk.
- Using a wooden spoon mix all the ingredients to a smooth dough.
- Dust the wooden board with some flour & knead dough for 10mins.
- Now put the dough in the greased bowl & coat the dough with oil.
- Wrap it with a cloth & keep it in a warm place.
- Allow the dough to rise for 1hr or double it's size.
Baking the sticks
- Preheat oven @350 degrees.
- Prep the cookie sheet with a parchment paper.
- Dust the wooden board with flour & place the risen dough.
- Knead it for few seconds & divide the dough in to 20 small balls.
- Take one ball of dough & roll it into straight, thin stick using your hand.
- Now roll it in sesame seeds & lay on the cookie sheet.
- Repeat the same with rest of the dough balls.
- Now lay them equally on the cookie sheet & allow them to rise for 20mins.
- Bake them @350 degrees for 10mins or till they turn light brown.
- Remove from oven & cool them.
- Serve them with your choice of dip & enjoy.
Note
- I used instant yeast so there was no rising ceremony for it.
- If using active yeast follow the packaged instructions.
- I ended up having a little fat bread sticks after the bread rose.. So roll them little more thinner for sleek sticks.
- I haven't added any flavor to dough. Feel free to customize the dough.
- This recipe was perfect for two.

Follow me on "Facebook", "Google+", "Pinterest" for daily updates. Leave me a comment on any queries regarding this recipe & I will be able to answer it for you as soon as possible.

Check out the Blogging Marathon page for the other Blogging Marathoners doing BM# 40


Thursday, February 27, 2014

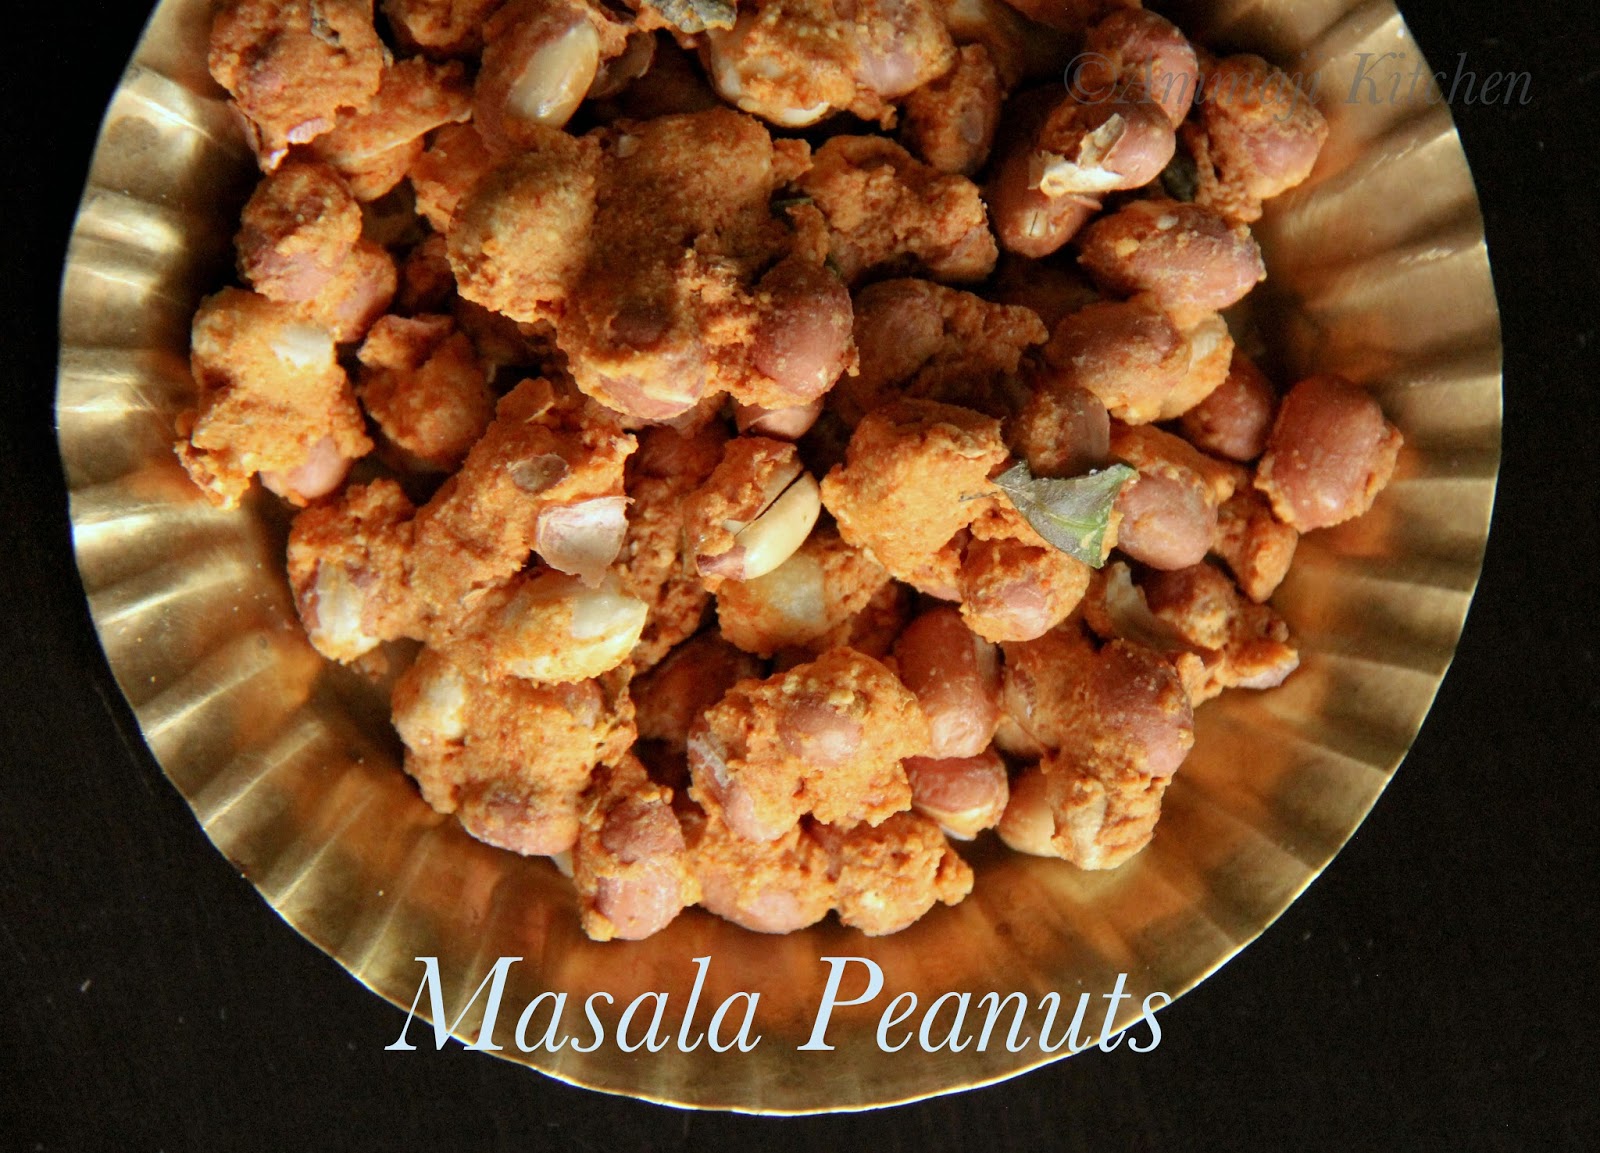
Masala Peanuts

Masala Peanuts

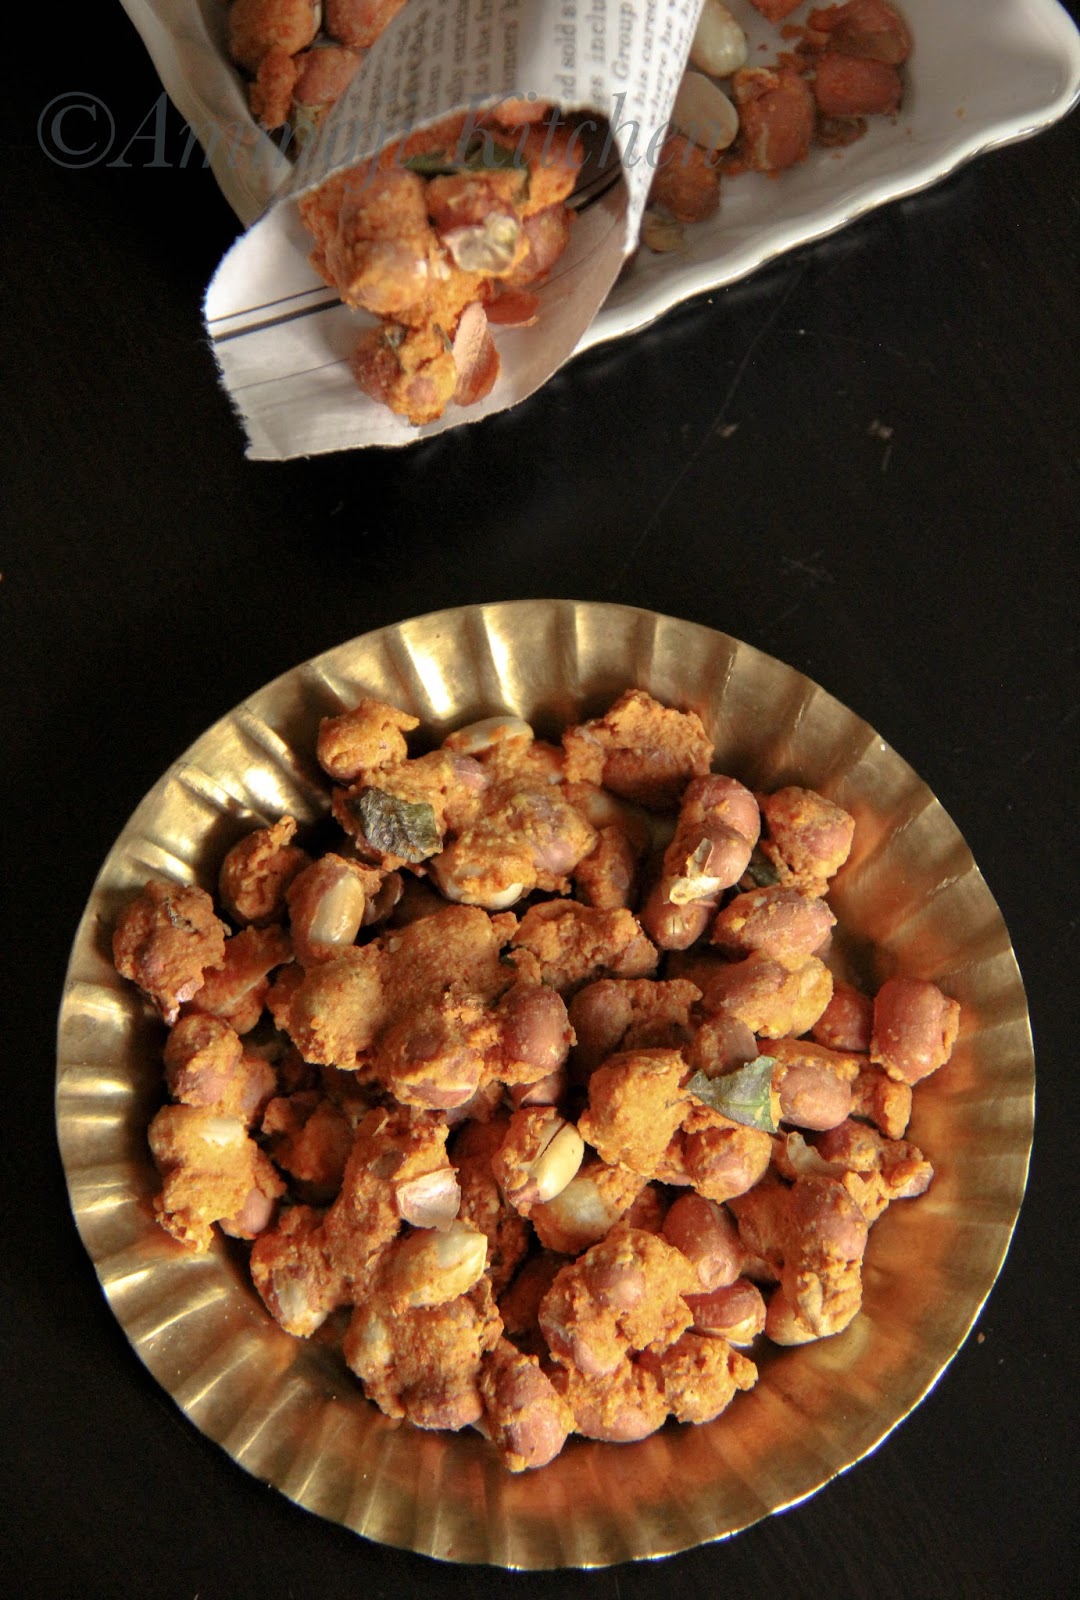
Masala Peanuts are a crunchy & crispy bites which can be enjoyed as a evening  snack along with your tea or coffee. To make them healthier I microwaved this goodies and they were as perfect as a deep fried one's. I shared both the versions for you all to explore & can choose the option you like. 

Masala Peanuts
Prep Time-5mins | Cook Time-5mins| Yields-2servings
Ingredients 
1/4Cup besan 
2Tbs rice flour
1/2Cup peanuts
1Tsp red chili powder
1/2Tsp salt (Adjust as needed)
4Tsp water
1Garlic minced
1/2Tsp oil 
Few curry leaves 
Directions
Microwave Version: 
- In a bowl add all the above ingredients & mix them well. Adjust salt & chili powder if needed.
- Take a microwave safe bowl or on small cookie plater & apply oil to it. Now lay peanuts so that they won't touch with each other. 
- Microwave it for 2mins & shuffle them. Now microwave them for 3mins & the masala peanuts are ready. 
Deep Fried Version: 
- Take an pan with enough oil to deep fry & bring it to boiling point. 
- Add little by little of peanuts to pan and fry them crisp. 
- Remove them & lay them on a paper towel to remove extra oil. 
- Repeat the same with rest of the peanuts. 
Note:
- You might have to microwave peanuts in small batches if your are using a small bowl or plate. 
Masala Peanuts

Follow me on "Facebook", "Google+", "Pinterest" for daily updates. Leave me a comment on any queries regarding this recipe & I will be able to answer it for you as soon as possible.


Wednesday, February 19, 2014

Draniki | Potato Pancake


Draniki
Prep Time-15mins | Cook Time-15mins | Yields-4Servings 
Ingredients
1Large potato 
1Medium onion sliced thinly 
1Tsp chili powder
1 Egg 
1Tbs oil
Salt
Directions
- Wash & wipe potato with a towel & peel off the skin of potato. Now grate the potato in to a bowl. 
- Squeeze out the extra water out of potatoes using your hand. 
- Now take the left out dry grated potato in a bowl & to that add onions, salt, chili powder & break an egg directly in to the bowl.
- Mix them well using a spatula. 
- Mean while heat a non stick pan with a 1/2 tsp oil.
- Add a ladle full of batter to pan. Allow it to cook a little crisp & reverse it to cook on the other side to crisp. 
- Transfer the pancake to plate & repeat the same with rest of the batter. 
- Serve it along with ketchup & enjoy.

Sunday, September 29, 2013

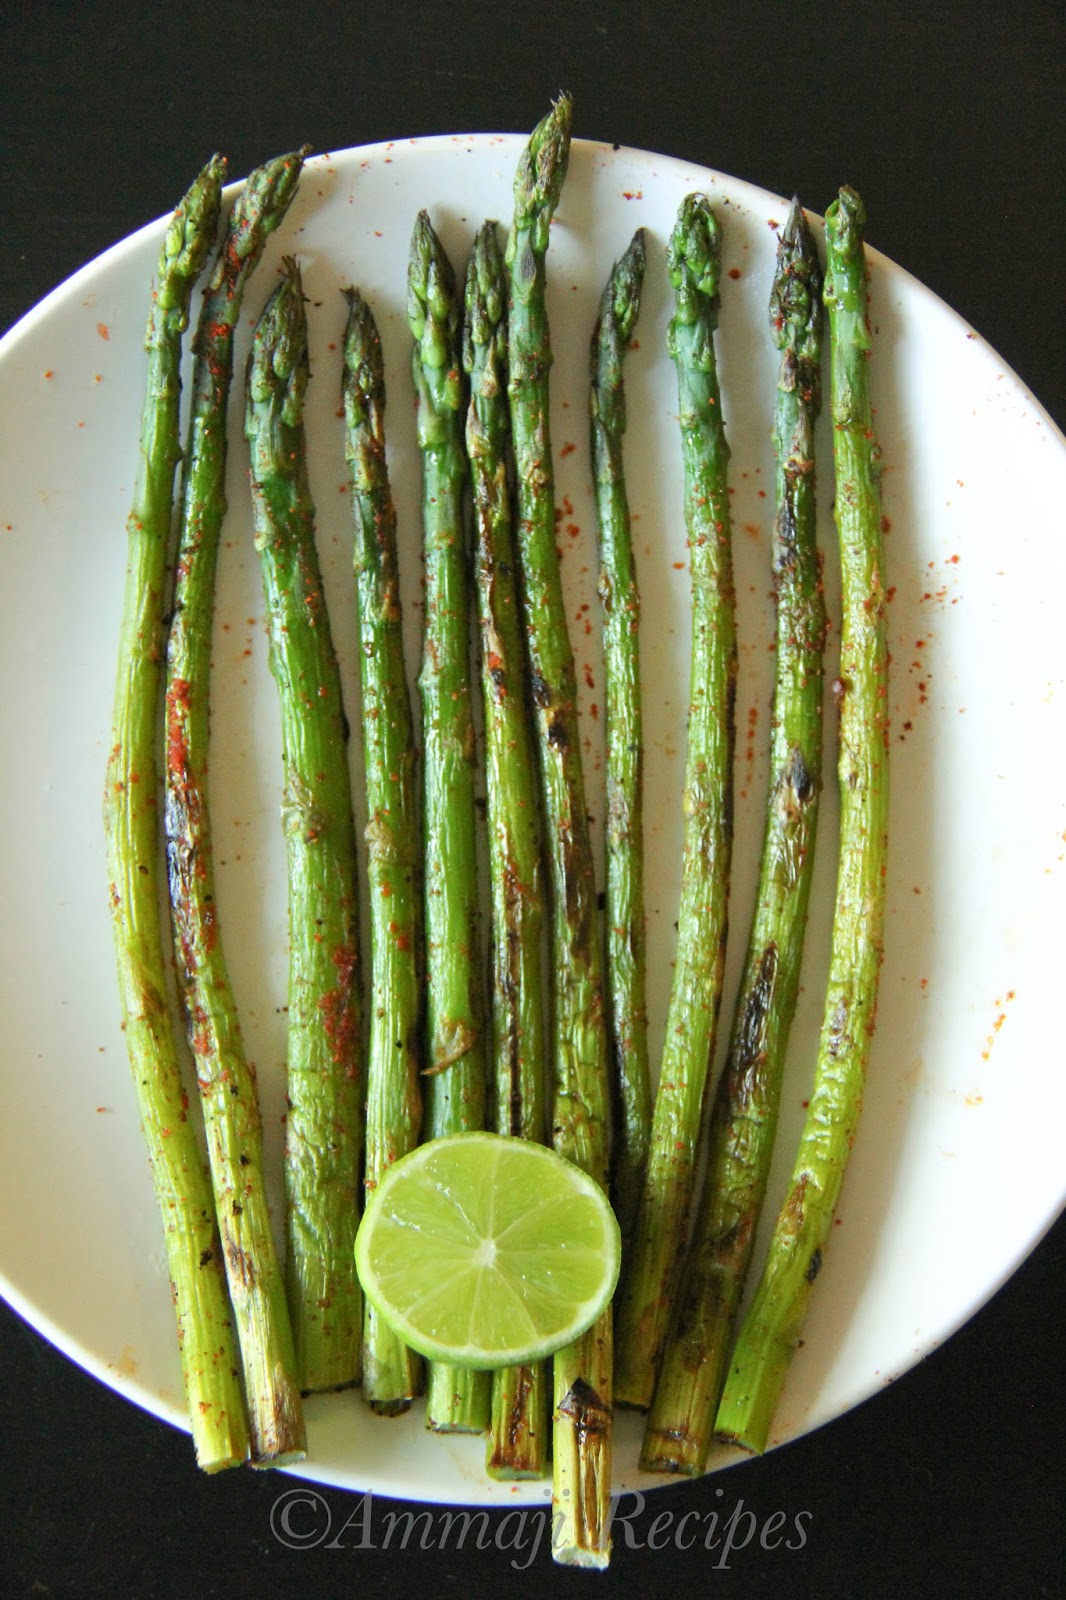
Asparagus Fry

Sharing a simple & yet a crunchy side dish which goes along with rice & also just as a snack. 

Asparagus Fry

Ingredients
1/2 Bunch Asparagus
1/2 Tsp. olive oil
1 Tsp. lemon juice
1/2 Tsp. red chili powder / Paprika
1/2 Tsp. minced garlic
Salt 

Asparagus Fry

Heat a pan with oil. Meanwhile clean the asparagus & keep them aside. Once the pan is hot enough add garlic, asparagus to pan along with salt. Saute them & close with lid. 
After exact 2mins. remove the lid or you might over cook the veggie. Sprinkle paprika & stir fry it. Switch off heat & add the lemon juice to pan. Mix it well.

Serve it with rice or as a snack.